NServiceBus - The gold standard for async .NET microservices on Azure, AWS, and On-Prem. Free for orgs under $1M, and with extended discounts, under $25/month for 10 microservices. Sign up for the Small Business Program today!
OutSystems is hosting a $1,000 Groundhog Day AI Challenge that tests real development skills. Your challenge? Progress from UI-level puzzle solving to using AI inside the IDE, and race to save Phil the Groundhog faster than anyone else.
Authentication is one of those things that's easy to get wrong and expensive to fix later. Rolling your own auth system means dealing with password hashing, token management, session handling, and a never-ending stream of security patches.
I was never a fan of this...
What if you could outsource all of that to a battle-tested identity provider?
Keycloak is an open-source identity and access management solution. It handles user authentication, authorization, and identity brokering (social logins, enterprise SSO) out of the box. You get a polished admin console, built-in support for OAuth 2.0 and OpenID Connect, and it runs anywhere Docker does.
We'll spin up Keycloak as a container, create a realm with a public client, and wire up Swagger UI to authenticate using the OAuth 2.0 Authorization Code flow. Then we'll add JWT validation to our .NET backend and trace the entire authentication flow using the Aspire Dashboard.
Running Keycloak as a Container
The fastest way to spin up Keycloak is with Docker. We'll run it in development mode, which disables HTTPS and uses an embedded H2 database. This is perfect for local development but not suitable for production (more on that later).
Here's a minimal docker-compose.yml:
services:
  keycloak:
    image: quay.io/keycloak/keycloak:26.5.2
    container_name: keycloak
    environment:
      - KC_BOOTSTRAP_ADMIN_USERNAME=admin
      - KC_BOOTSTRAP_ADMIN_PASSWORD=admin
    ports:
      - '8080:8080'
    command: start-dev
Start it with:
docker compose up -d
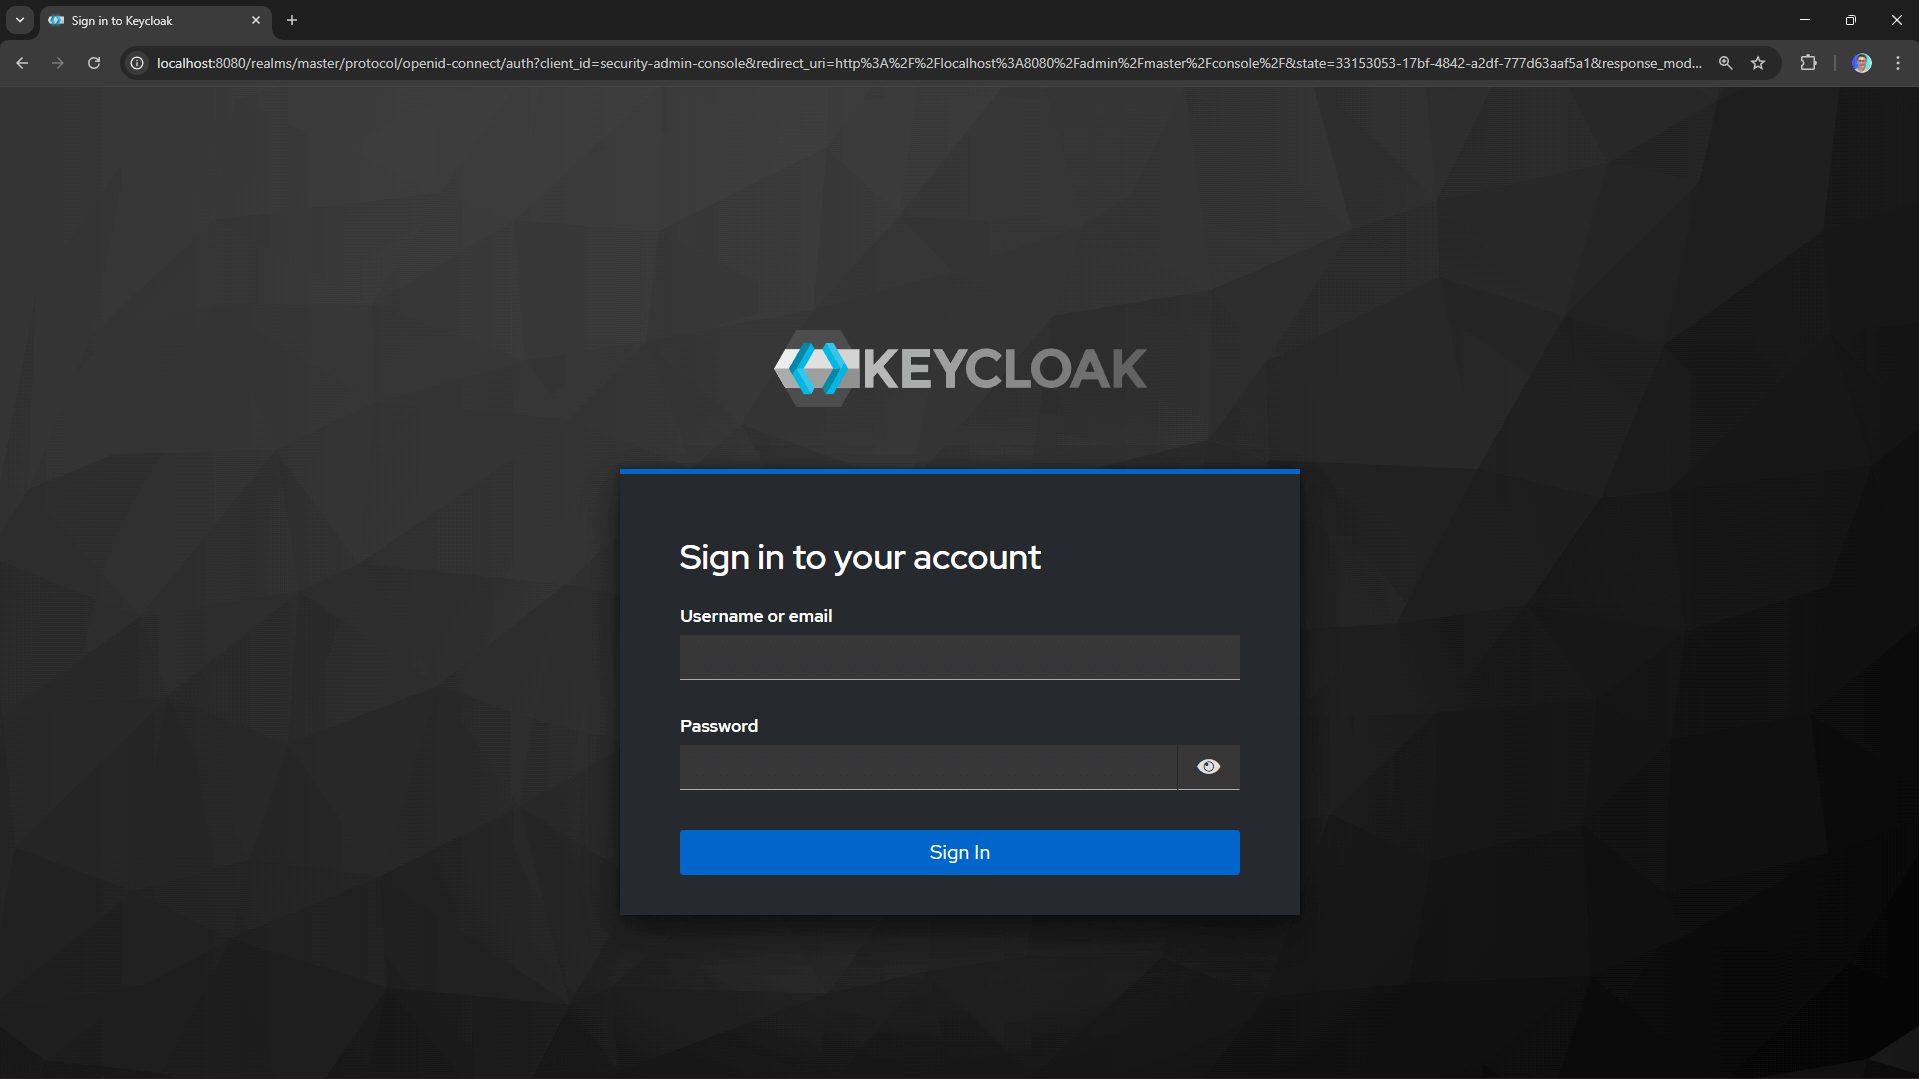
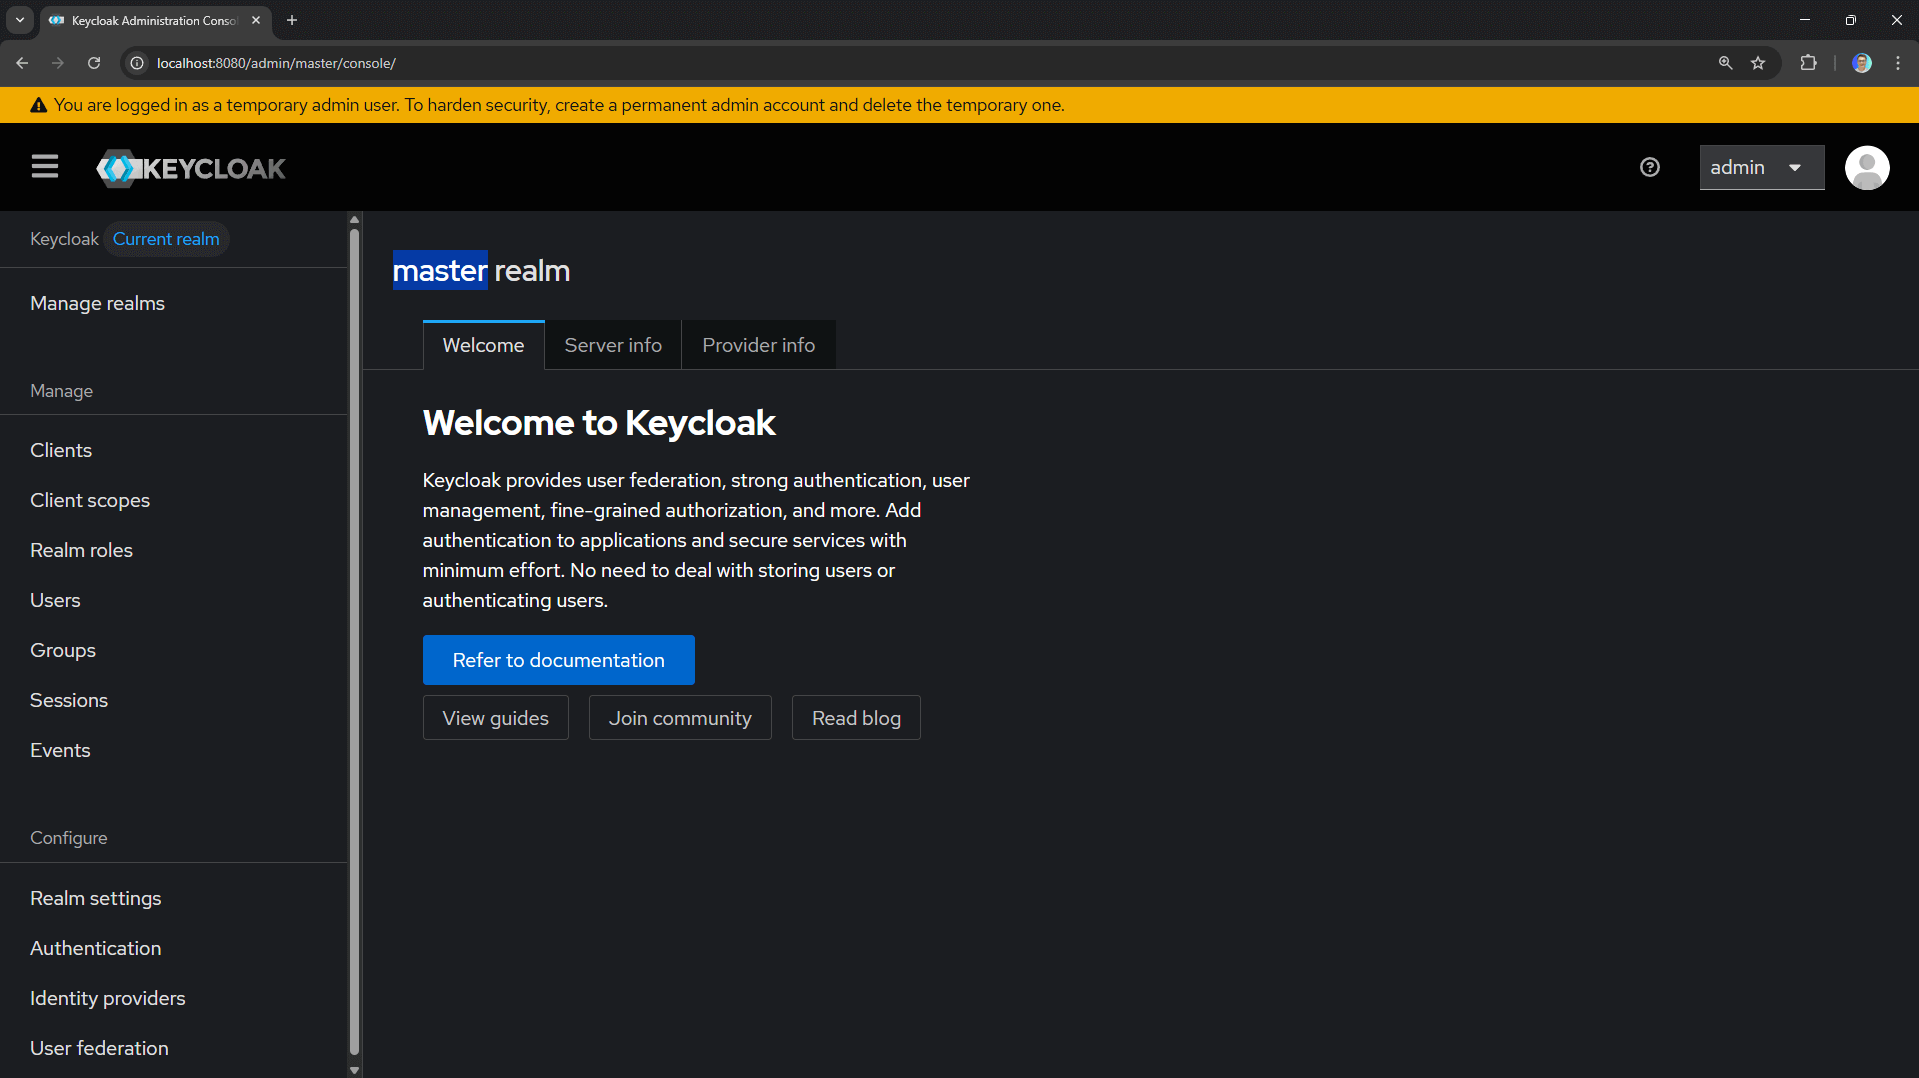
Once Keycloak is running, navigate to http://localhost:8080 and log in with admin / admin.
You should see the Keycloak admin console.
Setting Up a Realm and Client
Keycloak organizes everything into realms.
A realm is a space where you manage users, roles, and applications.
The master realm is reserved for Keycloak administration, so we'll create a new one for our application.
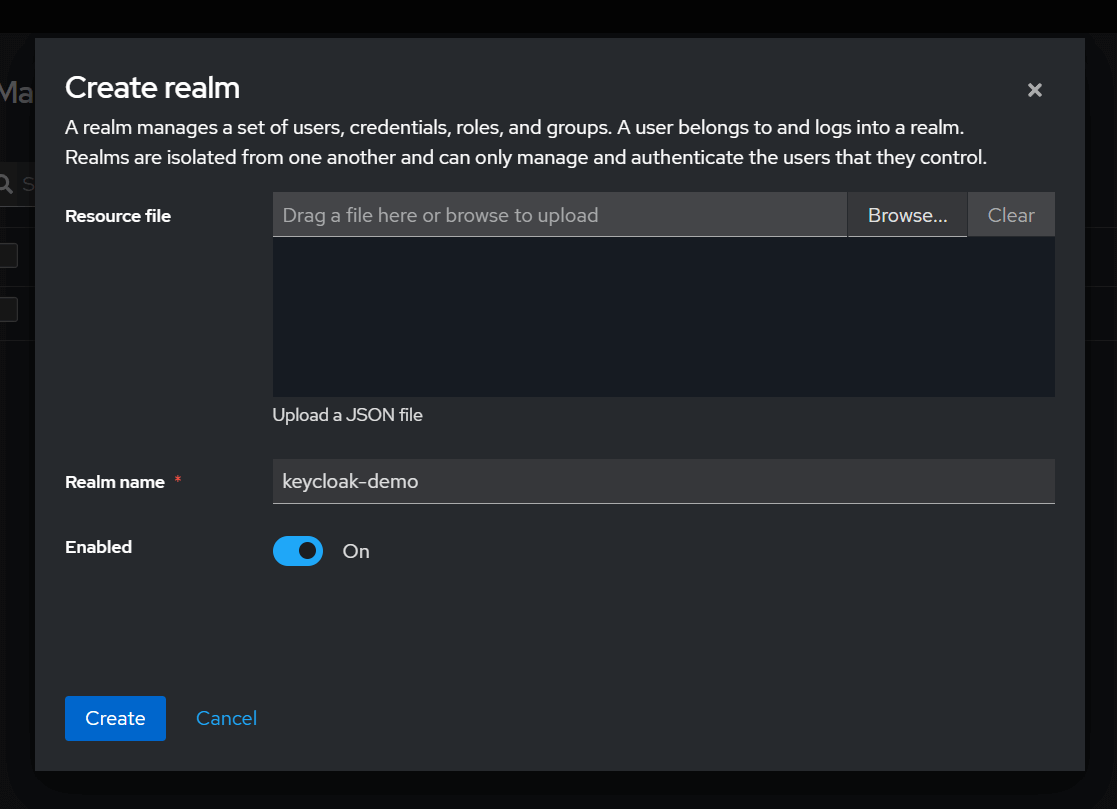
Creating a Realm
- Click the Manage Realms button in the top-left corner
- Click Create realm
- Enter a name (e.g.,
keycloak-demo) and click Create
Creating a Public Client
Now we need to register our application. In OAuth 2.0 terms, this is a client. Since Swagger UI runs in the browser, we'll create a public client (no client secret).
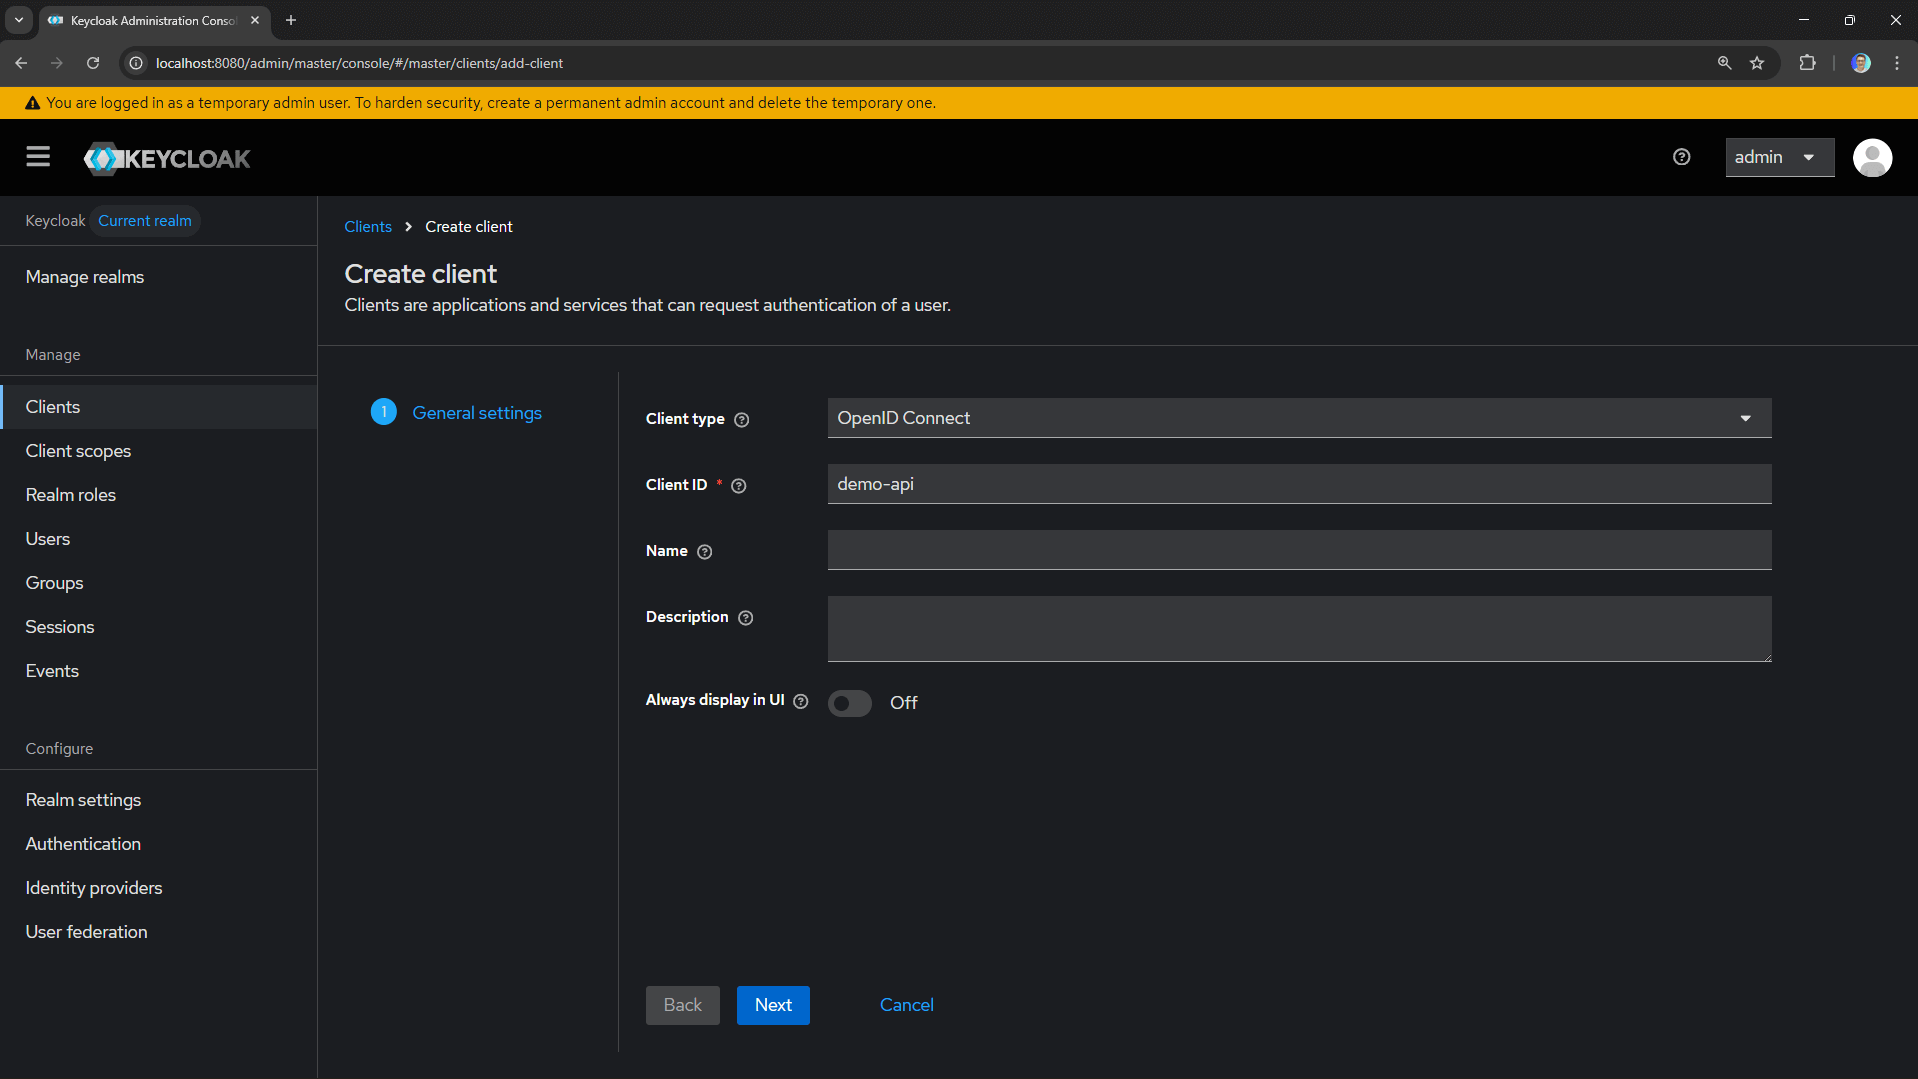
- Go to Clients → Create client
- Set Client ID to
demo-api - Leave Client type as
OpenID Connect - Click Next
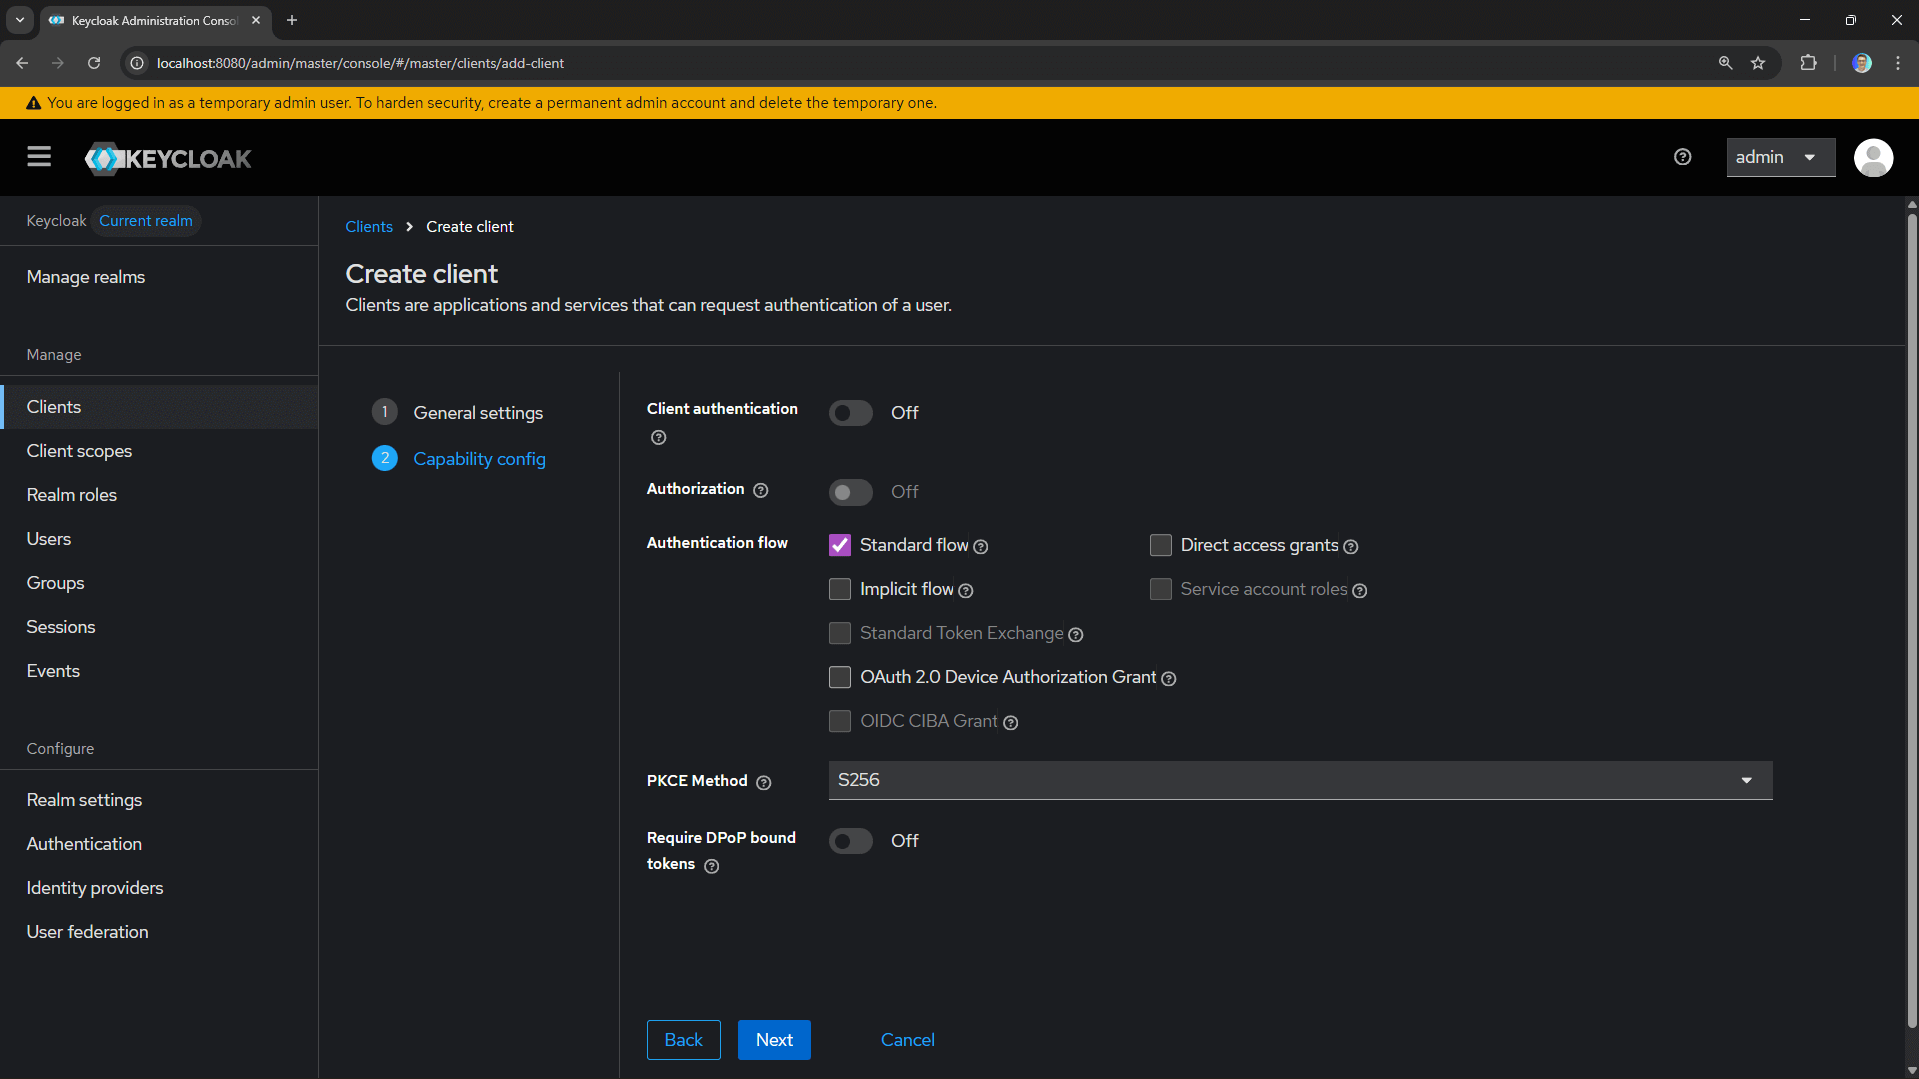
- Enable Client authentication: Off (public client)
- Check Standard flow (Authorization Code)
- Choose PKCE Method: S256 (SHA-256)
- Click Next
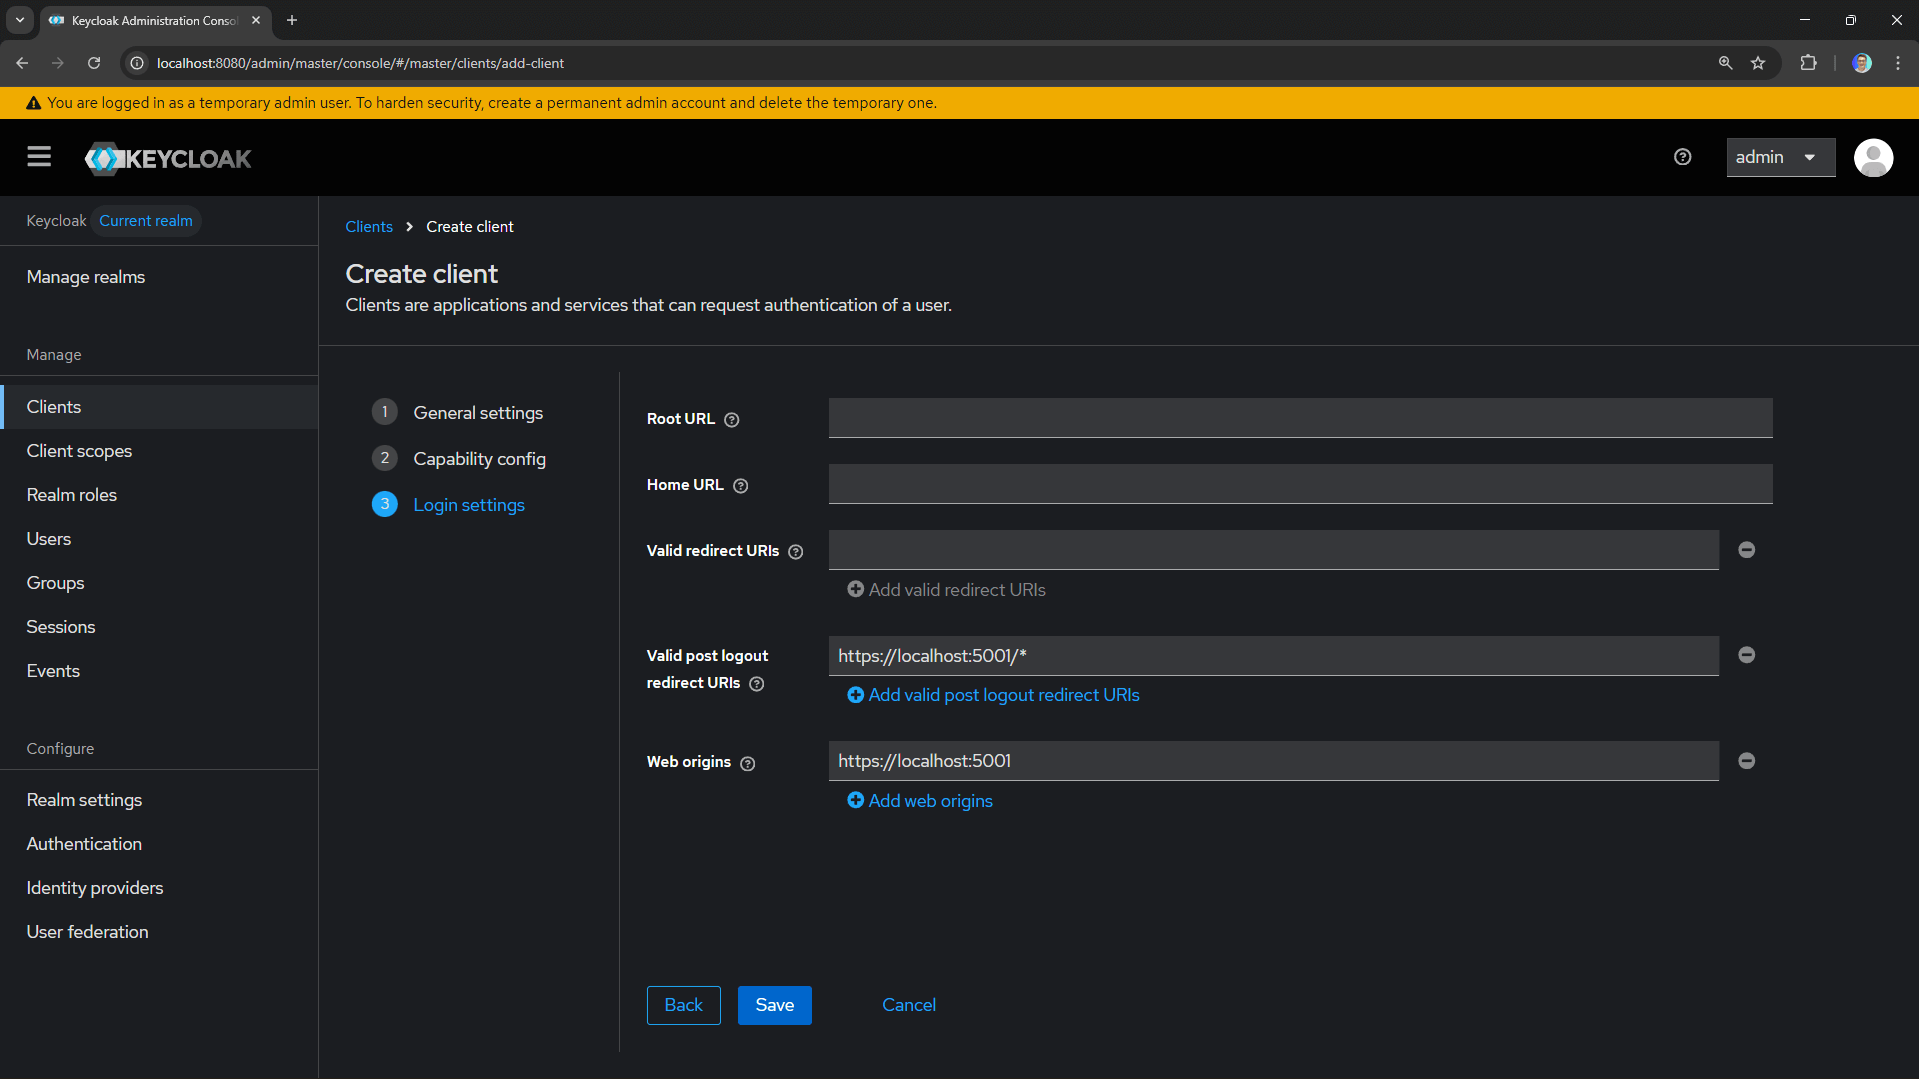
- Configure the redirect URIs:
- Valid redirect URIs:
https://localhost:5001/*(your API's Swagger URL) - Web origins:
https://localhost:5001
- Valid redirect URIs:
- Click Save
Creating a Test User
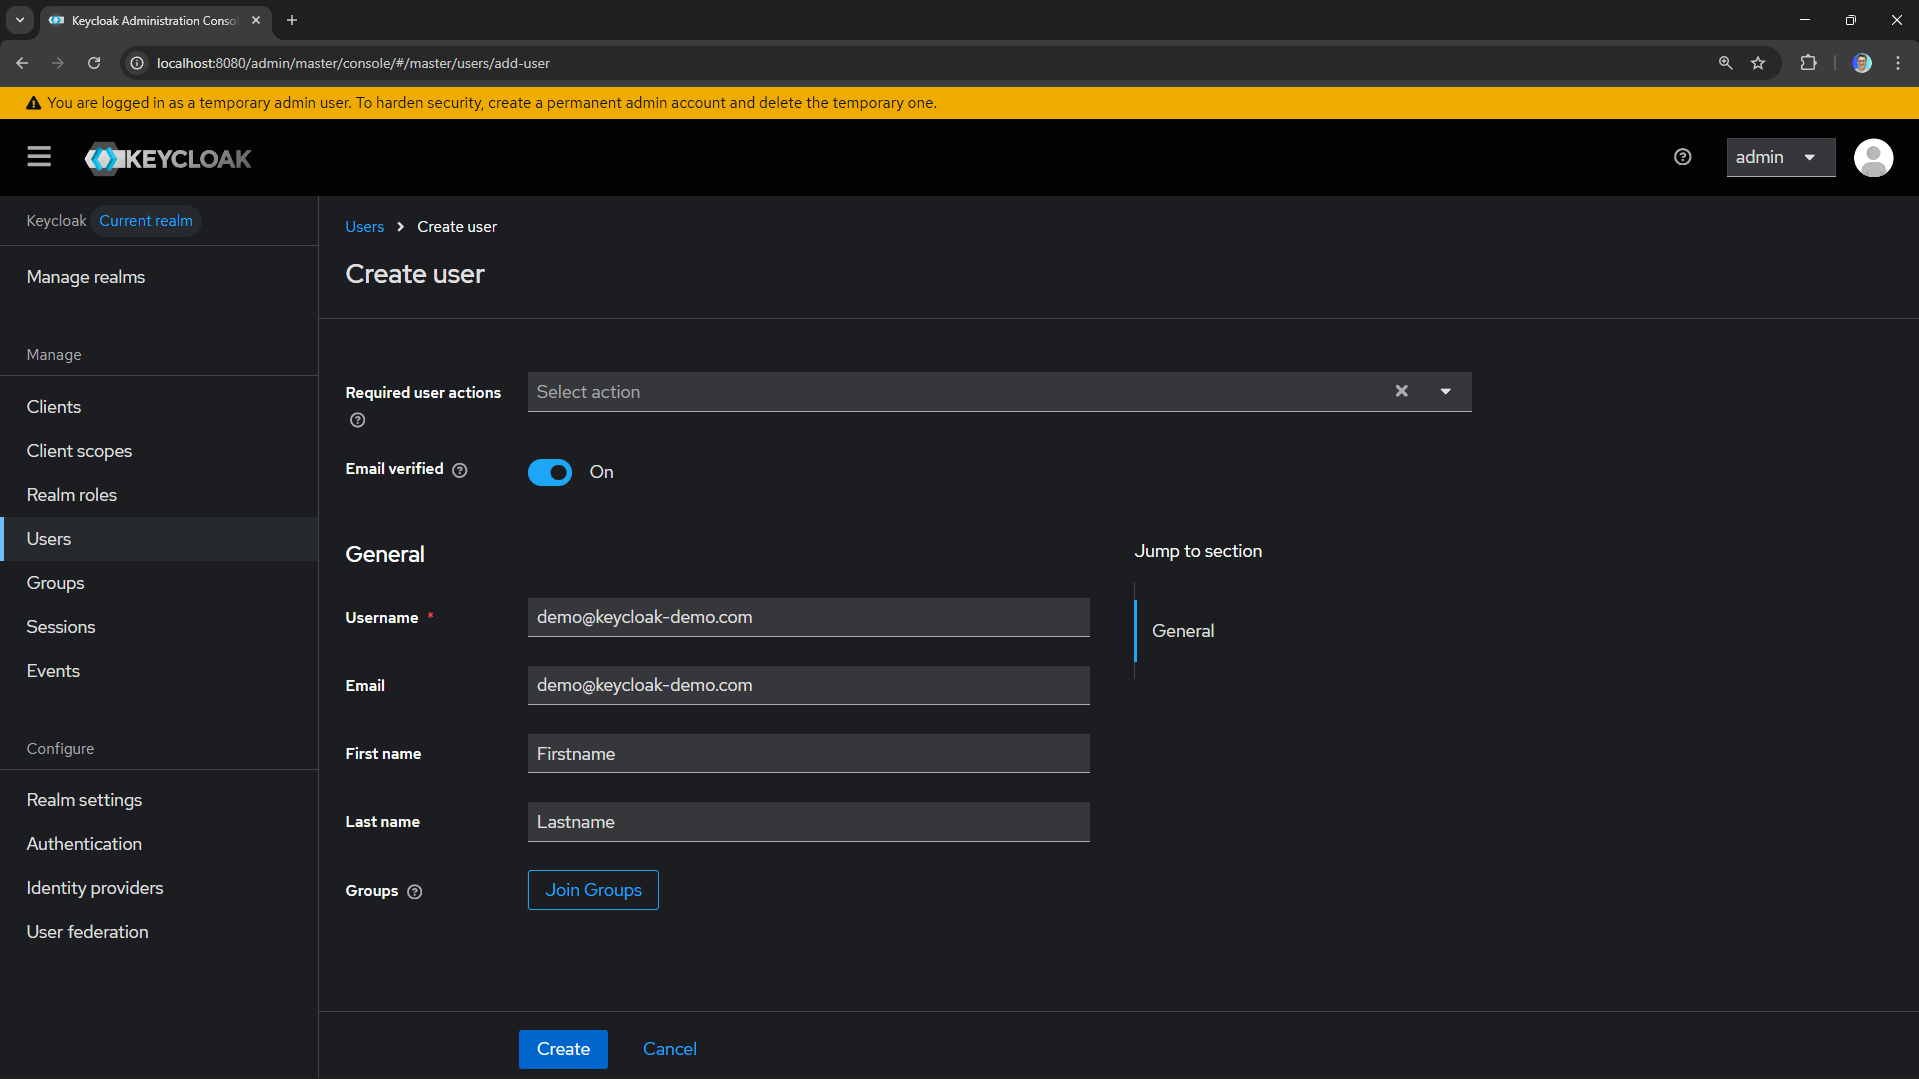
We need a user to authenticate with.
- Go to Users → Add user
- Fill in the details (username, email, etc.)
- Leave Email Verified checked to avoid email confirmation
- Click Create
- Go to the Credentials tab
- Click Set password and create a password (disable "Temporary")
You're now ready to authenticate users against Keycloak!
The Authorization Code Flow
Before we dive into code, let's understand what happens when a user authenticates. The Authorization Code flow is the recommended OAuth 2.0 flow for browser-based applications.
There's an important security enhancement called PKCE (Proof Key for Code Exchange) that prevents authorization code interception attacks. It works by having the client generate a random secret (the code verifier) and deriving a hash (the code challenge) sent in the initial authorization request. When exchanging the authorization code for tokens, the client must present the original code verifier.
Here's the sequence:
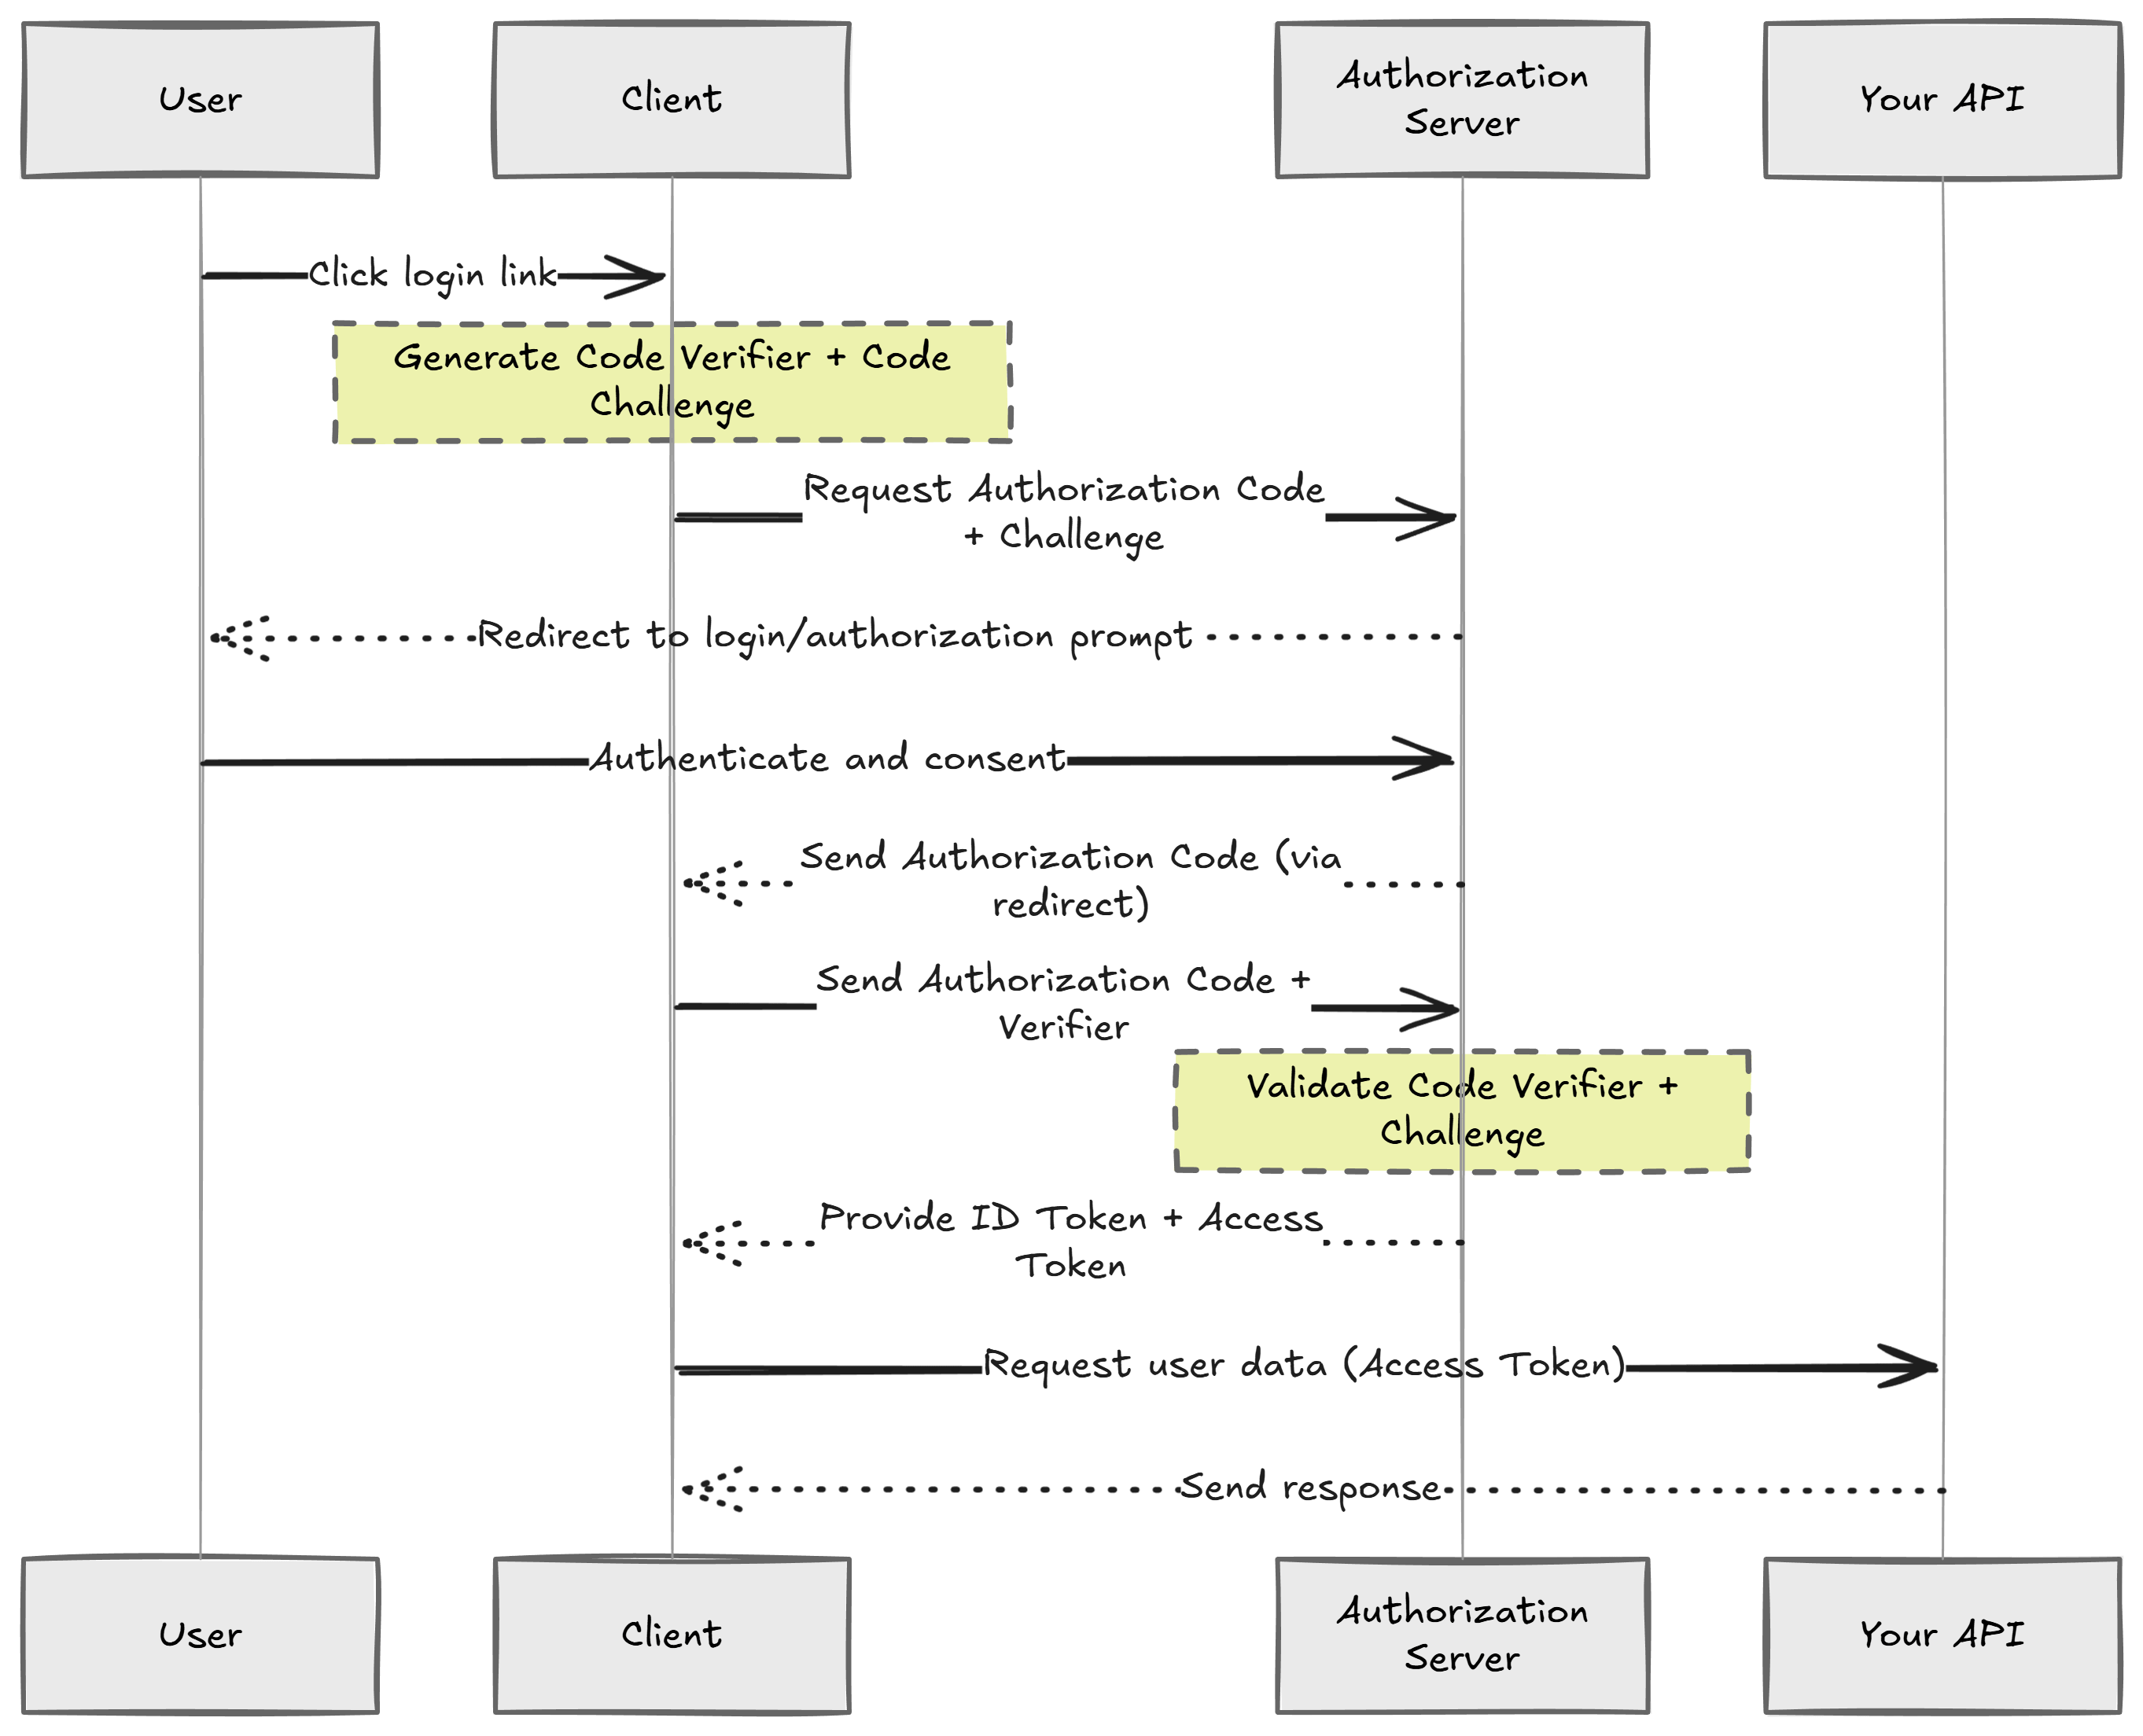
- User clicks "Authorize" in Swagger UI
- Browser redirects to Keycloak's authorization endpoint
- User logs in at Keycloak
- Keycloak redirects back with an authorization code
- Swagger UI exchanges the code for tokens (access token, refresh token, ID token)
- Swagger UI attaches the access token to API requests
- API validates the token signature and claims
The beauty of this flow is that credentials never touch your application. The user authenticates directly with Keycloak, and your API only sees signed tokens.
Configuring Swagger UI with OAuth 2.0
Now let's set up our .NET API to use Swagger UI as our OAuth 2.0 test client.
First, install the required packages:
dotnet add package Swashbuckle.AspNetCore
Configure Swagger in your Program.cs:
var keycloakAuthority = builder.Configuration["Keycloak:Authority"]!;
var keycloakClientId = builder.Configuration["Keycloak:ClientId"]!;

builder.Services.AddEndpointsApiExplorer();
builder.Services.AddSwaggerGen(options =>
{
    options.SwaggerDoc("v1", new OpenApiInfo
    {
        Title = "Demo API",
        Version = "v1"
    });

    // Define the OAuth 2.0 security scheme
    options.AddSecurityDefinition(nameof(SecuritySchemeType.OAuth2), new OpenApiSecurityScheme
    {
        Type = SecuritySchemeType.OAuth2,
        Flows = new OpenApiOAuthFlows
        {
            AuthorizationCode = new OpenApiOAuthFlow
            {
                AuthorizationUrl = new Uri($"{keycloakAuthority}/protocol/openid-connect/auth"),
                TokenUrl = new Uri($"{keycloakAuthority}/protocol/openid-connect/token"),
                Scopes = new Dictionary<string, string>
                {
                    { "openid", "OpenID Connect scope" },
                    { "profile", "User profile" }
                }
            }
        }
    });

    // Apply security to all operations
    options.AddSecurityRequirement(doc => new OpenApiSecurityRequirement
    {
        {
            new OpenApiSecuritySchemeReference(nameof(SecuritySchemeType.OAuth2), doc),
            []
        }
    });
});
And configure the Swagger UI middleware:
if (app.Environment.IsDevelopment())
{
    app.UseSwagger();
    app.UseSwaggerUI(options =>
    {
        options.OAuthClientId(keycloakClientId); // Default Client ID
        options.OAuthUsePkce(); // Proof Key for Code Exchange (security enhancement)
    });
}
Your appsettings.Development.json:
{
  "Keycloak": {
    "Authority": "http://localhost:8080/realms/keycloak-demo",
    "ClientId": "demo-api",
    "Audience": "account",
    "Issuer": "http://localhost:8080/realms/keycloak-demo",
    // Here we use the Docker service name for Keycloak
    "MetadataAddress": "http://keycloak:8080/realms/keycloak-demo/.well-known/openid-configuration"
  }
}
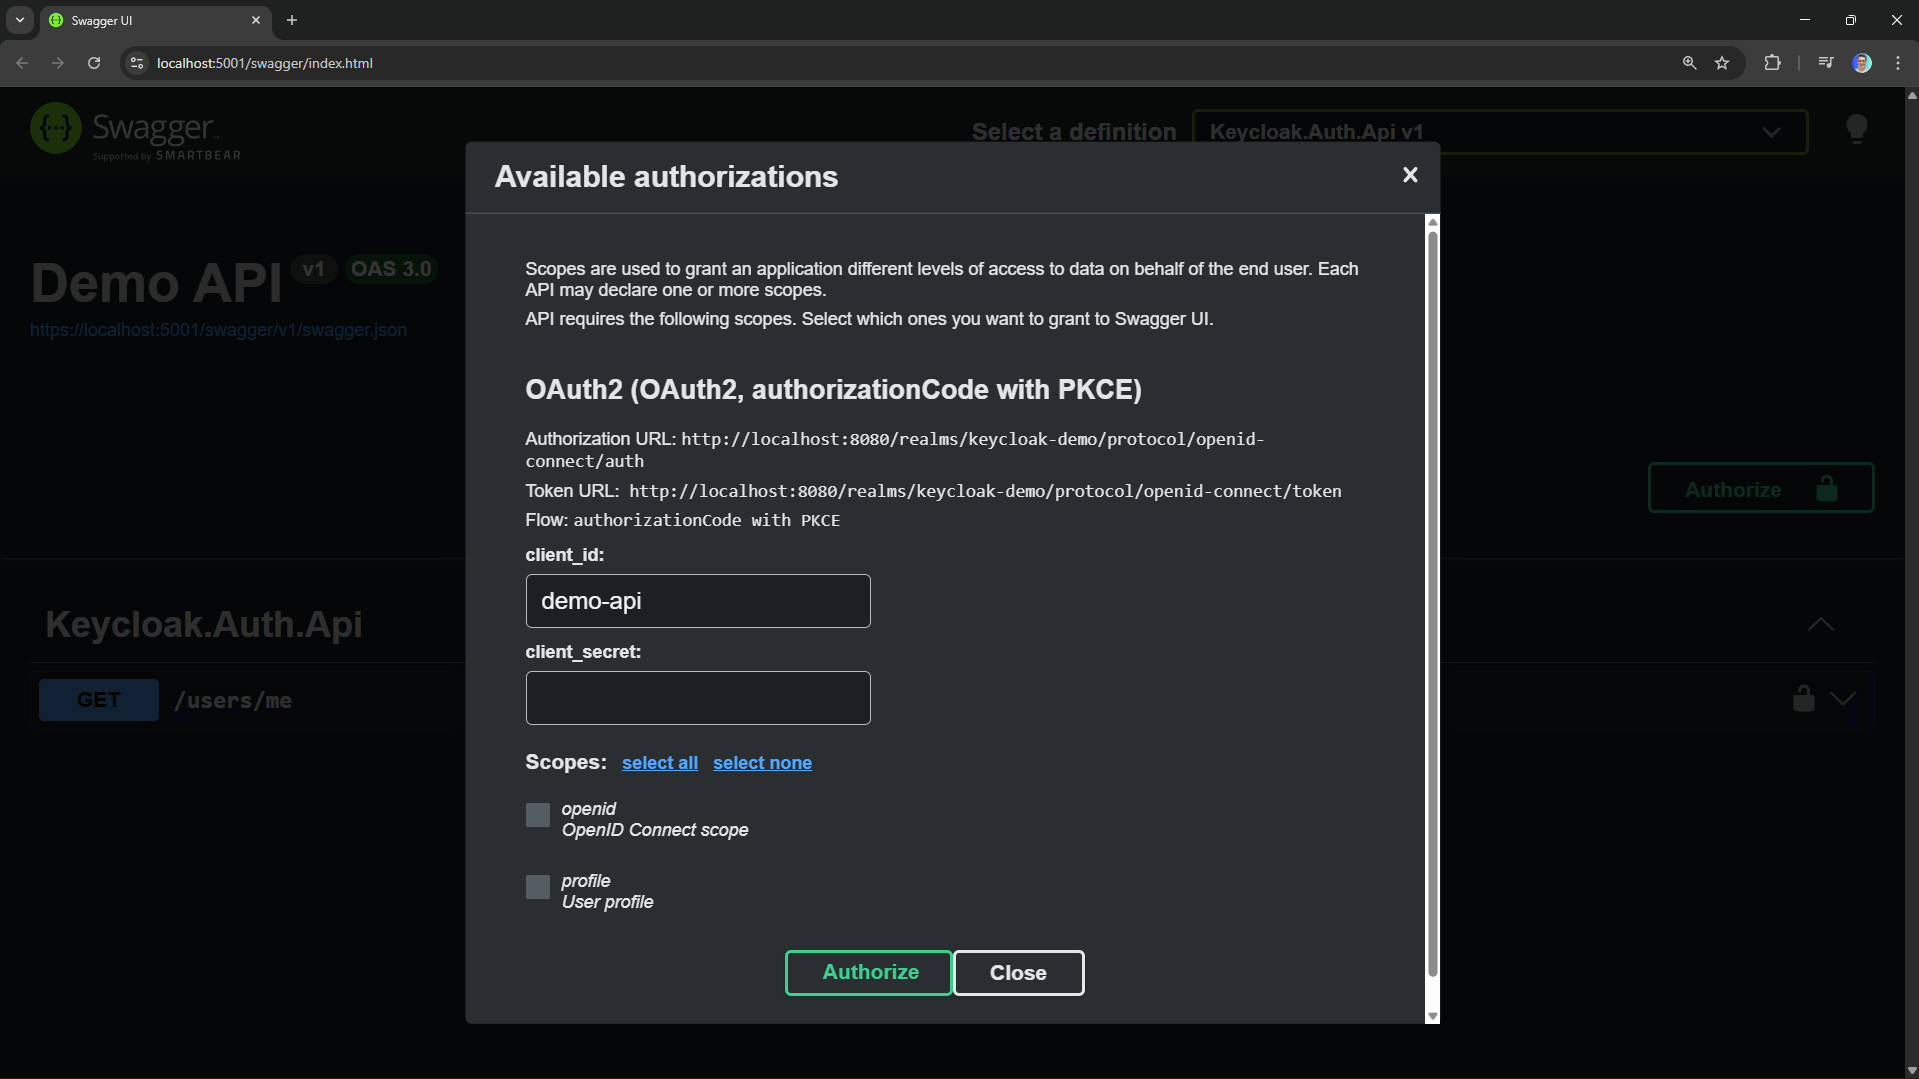
Now when you open Swagger UI, you'll see an Authorize button. Clicking it opens the OAuth flow, redirecting you to Keycloak to log in.
Adding JWT Validation
At this point, Swagger UI can obtain tokens, but our API isn't validating them yet. Let's add JWT Bearer authentication.
Install the authentication package:
dotnet add package Microsoft.AspNetCore.Authentication.JwtBearer
Configure authentication in Program.cs:
builder.Services.AddAuthentication(JwtBearerDefaults.AuthenticationScheme)
    .AddJwtBearer(options =>
    {
        options.MetadataAddress = builder.Configuration["Keycloak:MetadataAddress"]!;
        options.Audience = builder.Configuration["Keycloak:Audience"];

        options.TokenValidationParameters = new TokenValidationParameters
        {
            ValidIssuer = builder.Configuration["Keycloak:Issuer"]
        };

        // Required for HTTP in development (Keycloak uses HTTP by default in dev mode)
        options.RequireHttpsMetadata = !builder.Environment.IsDevelopment();
    });

builder.Services.AddAuthorization();
The default TokenValidationParameters will validate the token signature, expiration, issuer, and audience.
Add the middleware:
app.UseAuthentication();
app.UseAuthorization();
Create a protected endpoint:
app.MapGet("users/me", (ClaimsPrincipal user) =>
{
    return Results.Ok(new
    {
        UserId = user.FindFirstValue(ClaimTypes.NameIdentifier),
        Email = user.FindFirstValue(ClaimTypes.Email),
        Name = user.FindFirstValue("preferred_username"),
        Claims = user.Claims.Select(c => new { c.Type, c.Value })
    });
})
.RequireAuthorization();
How JWT Validation Works
When a request hits your protected endpoint, here's what happens under the hood:

- Middleware extracts the
Authorization: Bearer <token>header - JWT Handler fetches Keycloak's public keys from the JWKS endpoint (cached)
- Signature validation proves the token wasn't tampered with
- Claims are extracted and the
ClaimsPrincipalis populated - Authorization middleware checks if the user meets the endpoint requirements
- Endpoint executes with access to
HttpContext.User
The key insight here is that your API never contacts Keycloak to validate individual tokens. It fetches the signing keys once and validates tokens locally. This is what makes JWT-based authentication so fast.
Observing the Flow with Aspire Dashboard
If you're using Aspire, you can observe the entire authentication flow in the distributed traces.
Here's what a successful authentication looks like:
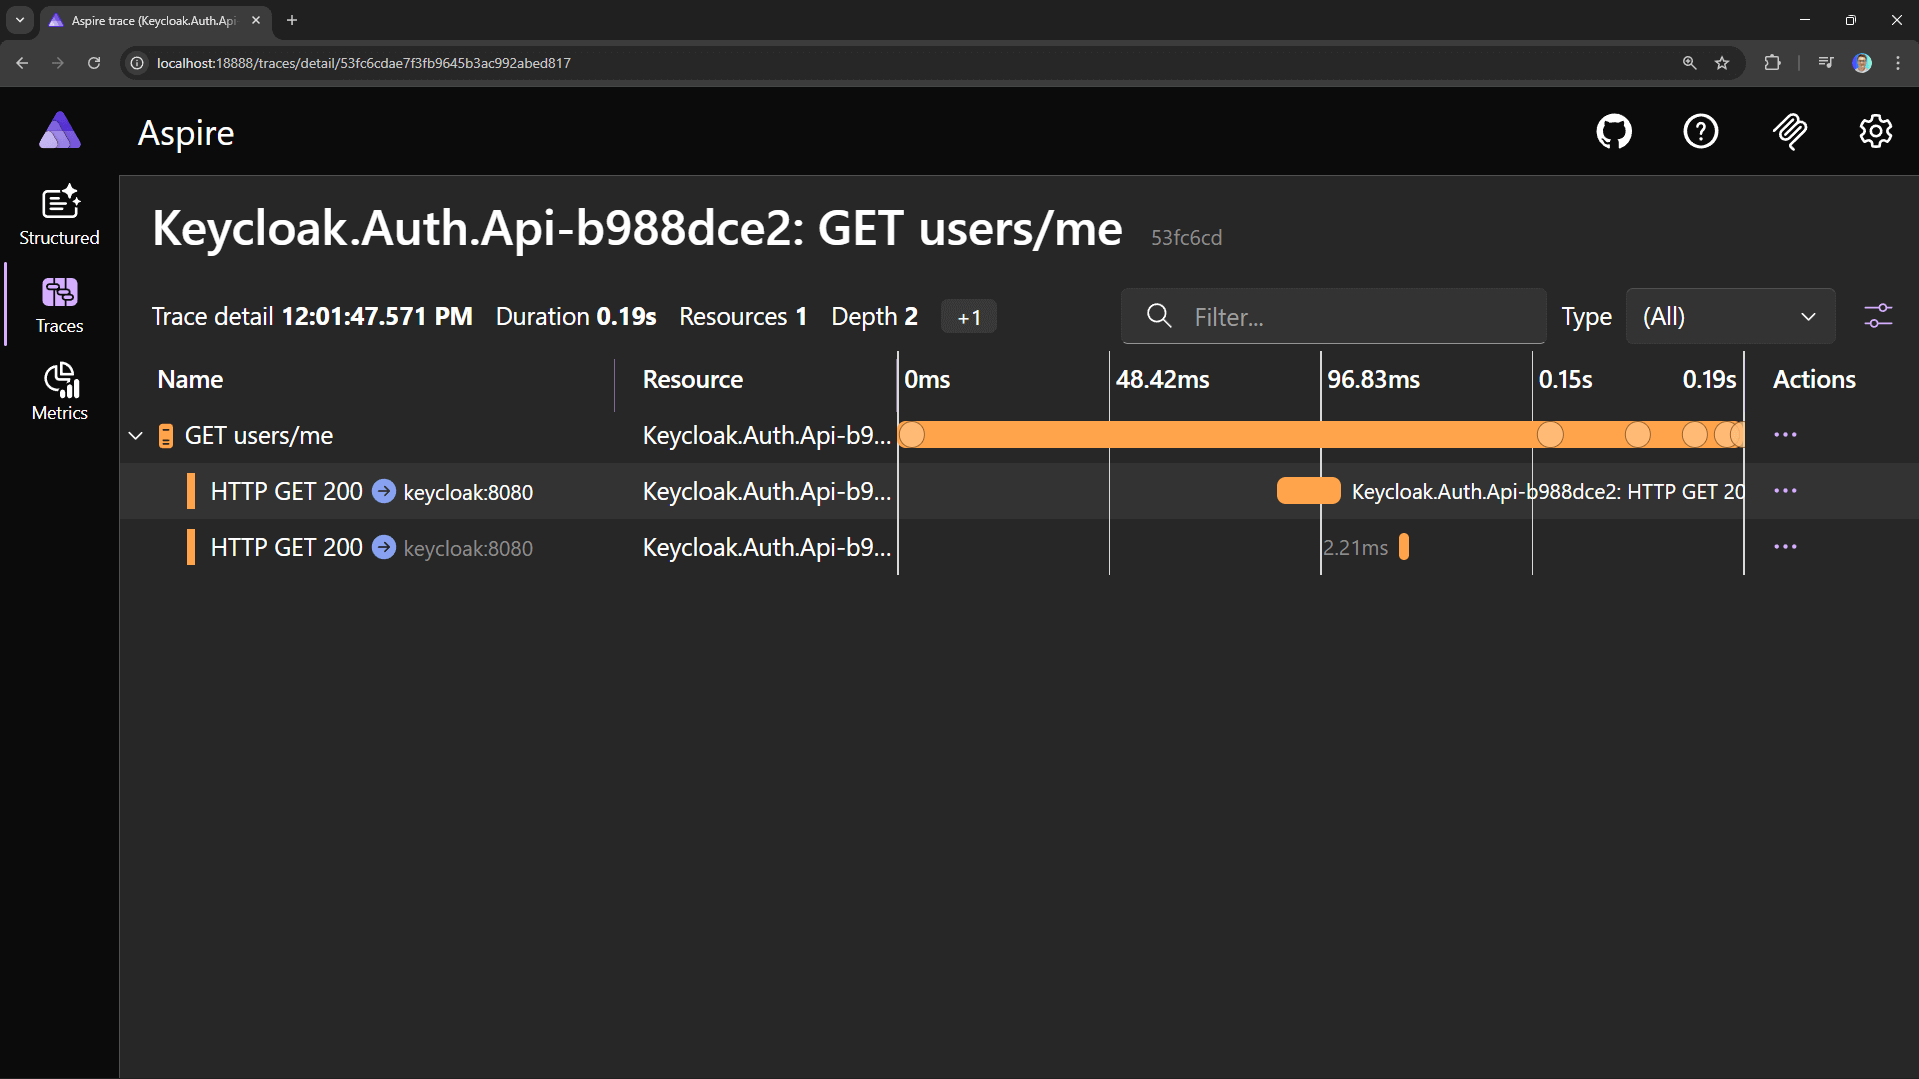
You can see:
- The initial request to
users/me(with the Bearer token) - The outbound call to Keycloak's
.well-known/openid-configurationendpoint - The outbound call to Keycloak's JWKS endpoint (fetching signing keys)
- The response back to the client
On subsequent requests, you won't see the JWKS call because the keys are cached.
This is why JWT validation adds virtually no latency after the initial key fetch.
Production Considerations
What we've built is great for development. For production, you'll want to address a few things:
1. HTTPS Everywhere
Keycloak should run behind HTTPS.
Set KC_HOSTNAME and configure TLS certificates.
2. Persistent Storage
Replace the embedded H2 database with PostgreSQL or MySQL:
environment:
  - KC_DB=postgres
  - KC_DB_URL=jdbc:postgresql://postgres:5432/keycloak
  - KC_DB_USERNAME=keycloak
  - KC_DB_PASSWORD=secret
3. Require HTTPS Metadata
Remove options.RequireHttpsMetadata = false in production.
Summary
In about 10 minutes, we've set up:
- A containerized Keycloak instance
- A realm with a public OAuth 2.0 client
- Swagger UI acting as an OAuth client with Authorization Code + PKCE
- JWT validation in ASP.NET Core
- Observability with OpenTelemetry into the authentication flow
What I really like about Keycloak is how easy it is to extend. Want Google login? Configure it in Keycloak. Need enterprise SSO? Add a SAML provider. Your API code stays exactly the same because it just validates tokens.
If you want to see how I integrate Keycloak in a real-world system with role-based access control, check out Pragmatic Clean Architecture and Modular Monolith Architecture.
See you next week.