POST/CON 25: Build Smarter APIs for an AI-Driven World
Join 2,000+ engineers at POST/CON 25, June 3 & 4 in LA, for deep dives on building scalable APIs,
automating with Flows, and deploying AI-native systems. 30+ sessions, hands-on workshops, and zero
fluff. Learn from Postman engineers and peers solving real-world problems.
Register with code PMN50CAM1 for 50% off
Stack traces > “it just broke” — Sentry for .NET gets it. NullReferenceException: object not set to an instance of anything remotely helpful. Sentry captures the full error, request, and user context so you can stop debugging production like it's a murder mystery. 👉 Start fixing with Sentry — free trial, no guessing.
Event-driven architecture (EDA) can make applications more flexible and reliable. Instead of one part of the system calling another directly, we let events flow through a message broker. In this quick guide, I'll show you how to set up a simple event-driven system in .NET using RabbitMQ.
We'll build a small example with a producer that sends events and a consumer that receives them. For testing, I'll run RabbitMQ in a Docker container (with the Management UI enabled so we can see what's happening). We'll use the official RabbitMQ.Client NuGet package in a .NET console app.
Note: If you don't have RabbitMQ installed, you can run it quickly with Docker. For example:
docker run -it --rm --name rabbitmq -p 5672:5672 -p 15672:15672 rabbitmq:4-management
This starts a RabbitMQ broker on localhost (AMQP port 5672) and a management website at http://localhost:15672.
RabbitMQ Basics
Before coding, let's cover the basic components in RabbitMQ:
- Producer: an application that sends messages (events) to RabbitMQ.
- Consumer: an application that receives messages from a queue.
- Queue: a mailbox inside RabbitMQ that stores messages. Consumers read from queues. Many producers can send to the same queue.
- Exchange: a routing mechanism that receives messages from producers and directs them to queues. Producers actually send to an exchange instead of directly to a queue. This decouples producers from specific queues - the exchange can decide where messages go, based on rules.
In RabbitMQ, you can have multiple producers and multiple consumers. Producers never send directly to a queue by name; instead, they send to an exchange. The exchange decides which queues (if any) should get each message based on routing rules.
For now, we'll use a simple setup where the exchange will deliver all messages to one queue.
Producer - Sending Events
Let's start with the producer. In our .NET console app, we'll use RabbitMQ.Client to connect to the RabbitMQ broker and send a message.
For instance, an OrderPlaced event could trigger downstream services - inventory, email notifications, etc. -
without the ordering system needing to call them directly.
var factory = new ConnectionFactory() { HostName = "localhost" };
using var connection = await factory.CreateConnectionAsync();
using var channel = await connection.CreateChannelAsync();

// Ensure the queue exists (create it if not already there)
await channel.QueueDeclareAsync(
    queue: "orders",
    durable: true, // save to disk so the queue isn’t lost on broker restart
    exclusive: false, // can be used by other connections
    autoDelete: false, // don’t delete when the last consumer disconnects
    arguments: null);

// Create a message
var orderPlaced = new OrderPlaced
{
     OrderId = Guid.NewGuid(),
     Total = 99.99,
     CreatedAt = DateTime.UtcNow
};
var message = JsonSerializer.Serialize(orderPlaced);
var body = Encoding.UTF8.GetBytes(message);

// Publish the message
await channel.BasicPublishAsync(
    exchange: string.Empty, // default exchange
    routingKey: "orders",
    mandatory: true, // fail if the message can’t be routed
    basicProperties: new BasicProperties { Persistent = true }, // message will be saved to disk
    body: body);

Console.WriteLine($"Sent: {message}");
This code connects to RabbitMQ on localhost, declares a queue named orders (creates it if it doesn't exist already),
and publishes an OrderPlaced message to that queue.
We use an empty string for the exchange parameter, which tells RabbitMQ to use the default exchange.
The default exchange routes the message directly to the orders queue.
What's happening here:
- We declare a durable queue, so it survives RabbitMQ restarts
- We mark the message as persistent, which tells RabbitMQ to write it to disk
- We serialize an object into JSON and send it as a UTF-8 encoded byte array
Now let's look at the consumer side.
Consumer - Receiving Events
Next, let's set up a consumer to receive messages from the queue. The consumer will also connect to RabbitMQ and subscribe to the same queue.
To test this out, start the consumer application first (it will wait for messages), then run the producer application to send an event.
var factory = new ConnectionFactory() { HostName = "localhost" };
using var connection = await factory.CreateConnectionAsync();
using var channel = await connection.CreateChannelAsync();

// Declare (or check) the queue to consume from
await channel.QueueDeclareAsync(
    queue: "orders",
    durable: true, // must match the producer's queue settings
    exclusive: false, // can be used by other connections
    autoDelete: false, // don’t delete when the last consumer disconnects
    arguments: null);

// Define a consumer and start listening
var consumer = new AsyncEventingBasicConsumer(channel);
consumer.ReceivedAsync += async (sender, eventArgs) =>
{
    byte[] body = eventArgs.Body.ToArray();
    string message = Encoding.UTF8.GetString(body);
    var orderPlaced = JsonSerializer.Deserialize<OrderPlaced>(message);

    Console.WriteLine($"Received: OrderPlaced - {orderPlaced.OrderId}");

    // Acknowledge the message
    await ((AsyncEventingBasicConsumer)sender)
        .Channel.BasicAckAsync(eventArgs.DeliveryTag, multiple: false);
};
await channel.BasicConsumeAsync("orders", autoAck: false, consumer);

Console.WriteLine("Waiting for messages...");
The consumer code declares the same orders queue and sets up an event handler for incoming messages.
We call BasicConsumeAsync to start listening on the queue.
RabbitMQ will push any new messages to our consumer's event handler.
Whenever a message arrives, the consumer.ReceivedAsync event fires, and we print out the message.
What's important here:
autoAck: falseensures we only acknowledge messages we actually process- If processing fails, we could use
BasicNackto requeue or route to a dead-letter queue - Deserializing into a strongly typed object makes it easy to reason about the event
So far we've had one consumer. But what if we run multiple consumers on the same queue?
Competing Consumers - Scaling Out
What if you have multiple consumers for the same queue? RabbitMQ allows competing consumers on a queue.
If two or more consumers listen on the same queue, each message from that queue will be delivered to only one of them:
- RabbitMQ will distribute messages among the consumers (roughly in round-robin order)
- This is great for scaling: you can run multiple instances of a worker to process messages in parallel
In other words, consumers compete for messages on that queue. This pattern helps spread the workload, but note that each individual message is still processed by a single consumer.
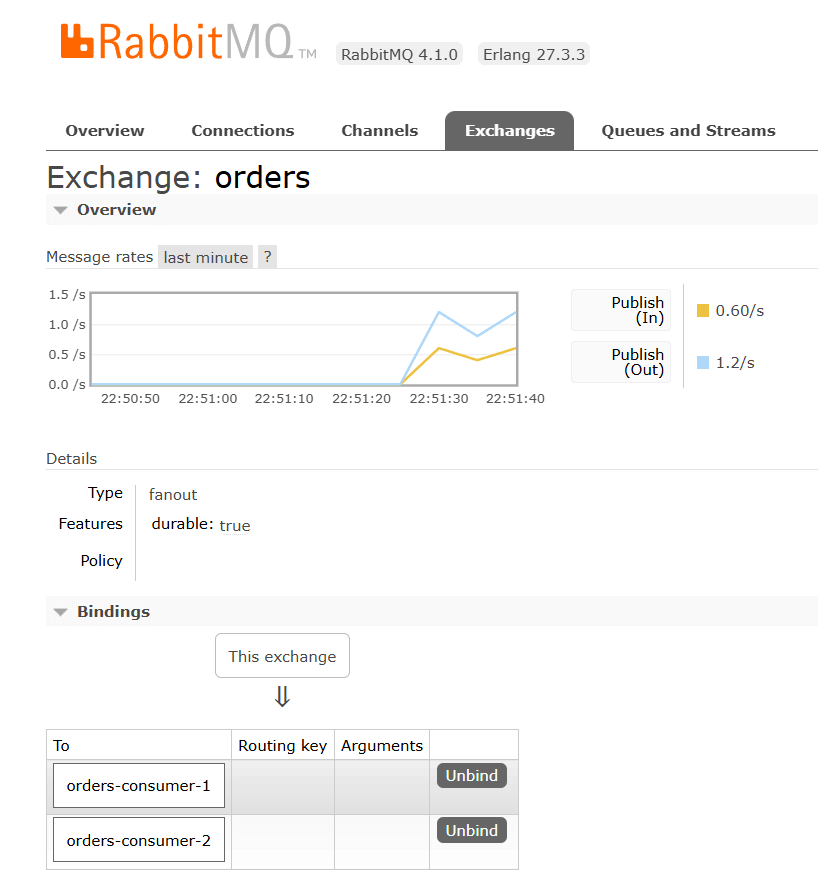
Fanout Exchange: Broadcast to Multiple Consumers
Competing consumers share the work by dividing messages, but sometimes you want every service to get the event. That's where a fanout exchange comes in.
In RabbitMQ, a fanout exchange is used for broadcasting events to multiple consumers. Instead of all consumers sharing one queue, each consumer has its own queue. When the producer sends a message to a fanout exchange, the exchange copies and routes the message to all bound queues. This way, every consumer receives a copy via its own queue.
To set this up in code, we declare a fanout exchange and bind queues to it.
Producer:
// Producer setup for fanout
await channel.ExchangeDeclareAsync(
    exchange: "orders",
    durable: true, // durable exchange
    autoDelete: false, // don’t delete when the last consumer disconnects
    type: ExchangeType.Fanout);

// Publish a message to the fanout exchange (routingKey is ignored for fanout)
var orderPlaced = new OrderPlaced
{
     OrderId = Guid.NewGuid(),
     Total = 99.99,
     CreatedAt = DateTime.UtcNow
};
var message = JsonSerializer.Serialize(orderPlaced);
var body = Encoding.UTF8.GetBytes(message);

await channel.BasicPublishAsync(
    exchange: "orders",
    routingKey: string.Empty,
    mandatory: true,
    basicProperties: new BasicProperties { Persistent = true },
    body: body);
Consumer:
// Consumer setup for fanout
await channel.ExchangeDeclareAsync(
    exchange: "orders",
    durable: true,
    autoDelete: false,
    type: ExchangeType.Fanout);

// Create a queue for this consumer and bind it
await channel.QueueDeclareAsync(
    queue: "orders-consumer-1",
    durable: true,
    exclusive: false,
    autoDelete: false,
    arguments: null);

await channel.QueueBindAsync("orders-consumer-1", "orders", routingKey: string.Empty);

// Then consume messages from queueName as usual...
In the producer, we call ExchangeDeclareAsync to make sure an orders exchange exists (of type fanout).
We then BasicPublishAsync to that exchange.
For a fanout exchange, the routingKey can be an empty string because it's ignored (fanout sends to all queues regardless of any routing key).
On the consumer side, we declare the same exchange and then create a new orders-consumer-1 queue.
We bind that queue to the orders exchange.
Now any message sent to the exchange will be delivered to this queue, and we can consume it.
If you run multiple consumer programs (each with its own queue bound to orders exchange),
each one will get every message (unlike the competing consumers scenario).
You can also peek into RabbitMQ's Management UI to see the exchange and queues in action.
Next Steps
You can expand this basic setup with more advanced RabbitMQ features. For example, you might use a direct exchange or topic exchange to route events to specific services, set up acknowledgment and retry policies for robustness, or implement dead-letter queues for error handling. The core idea throughout is the same: decouple senders and receivers with a message broker, making your system more flexible and resilient.
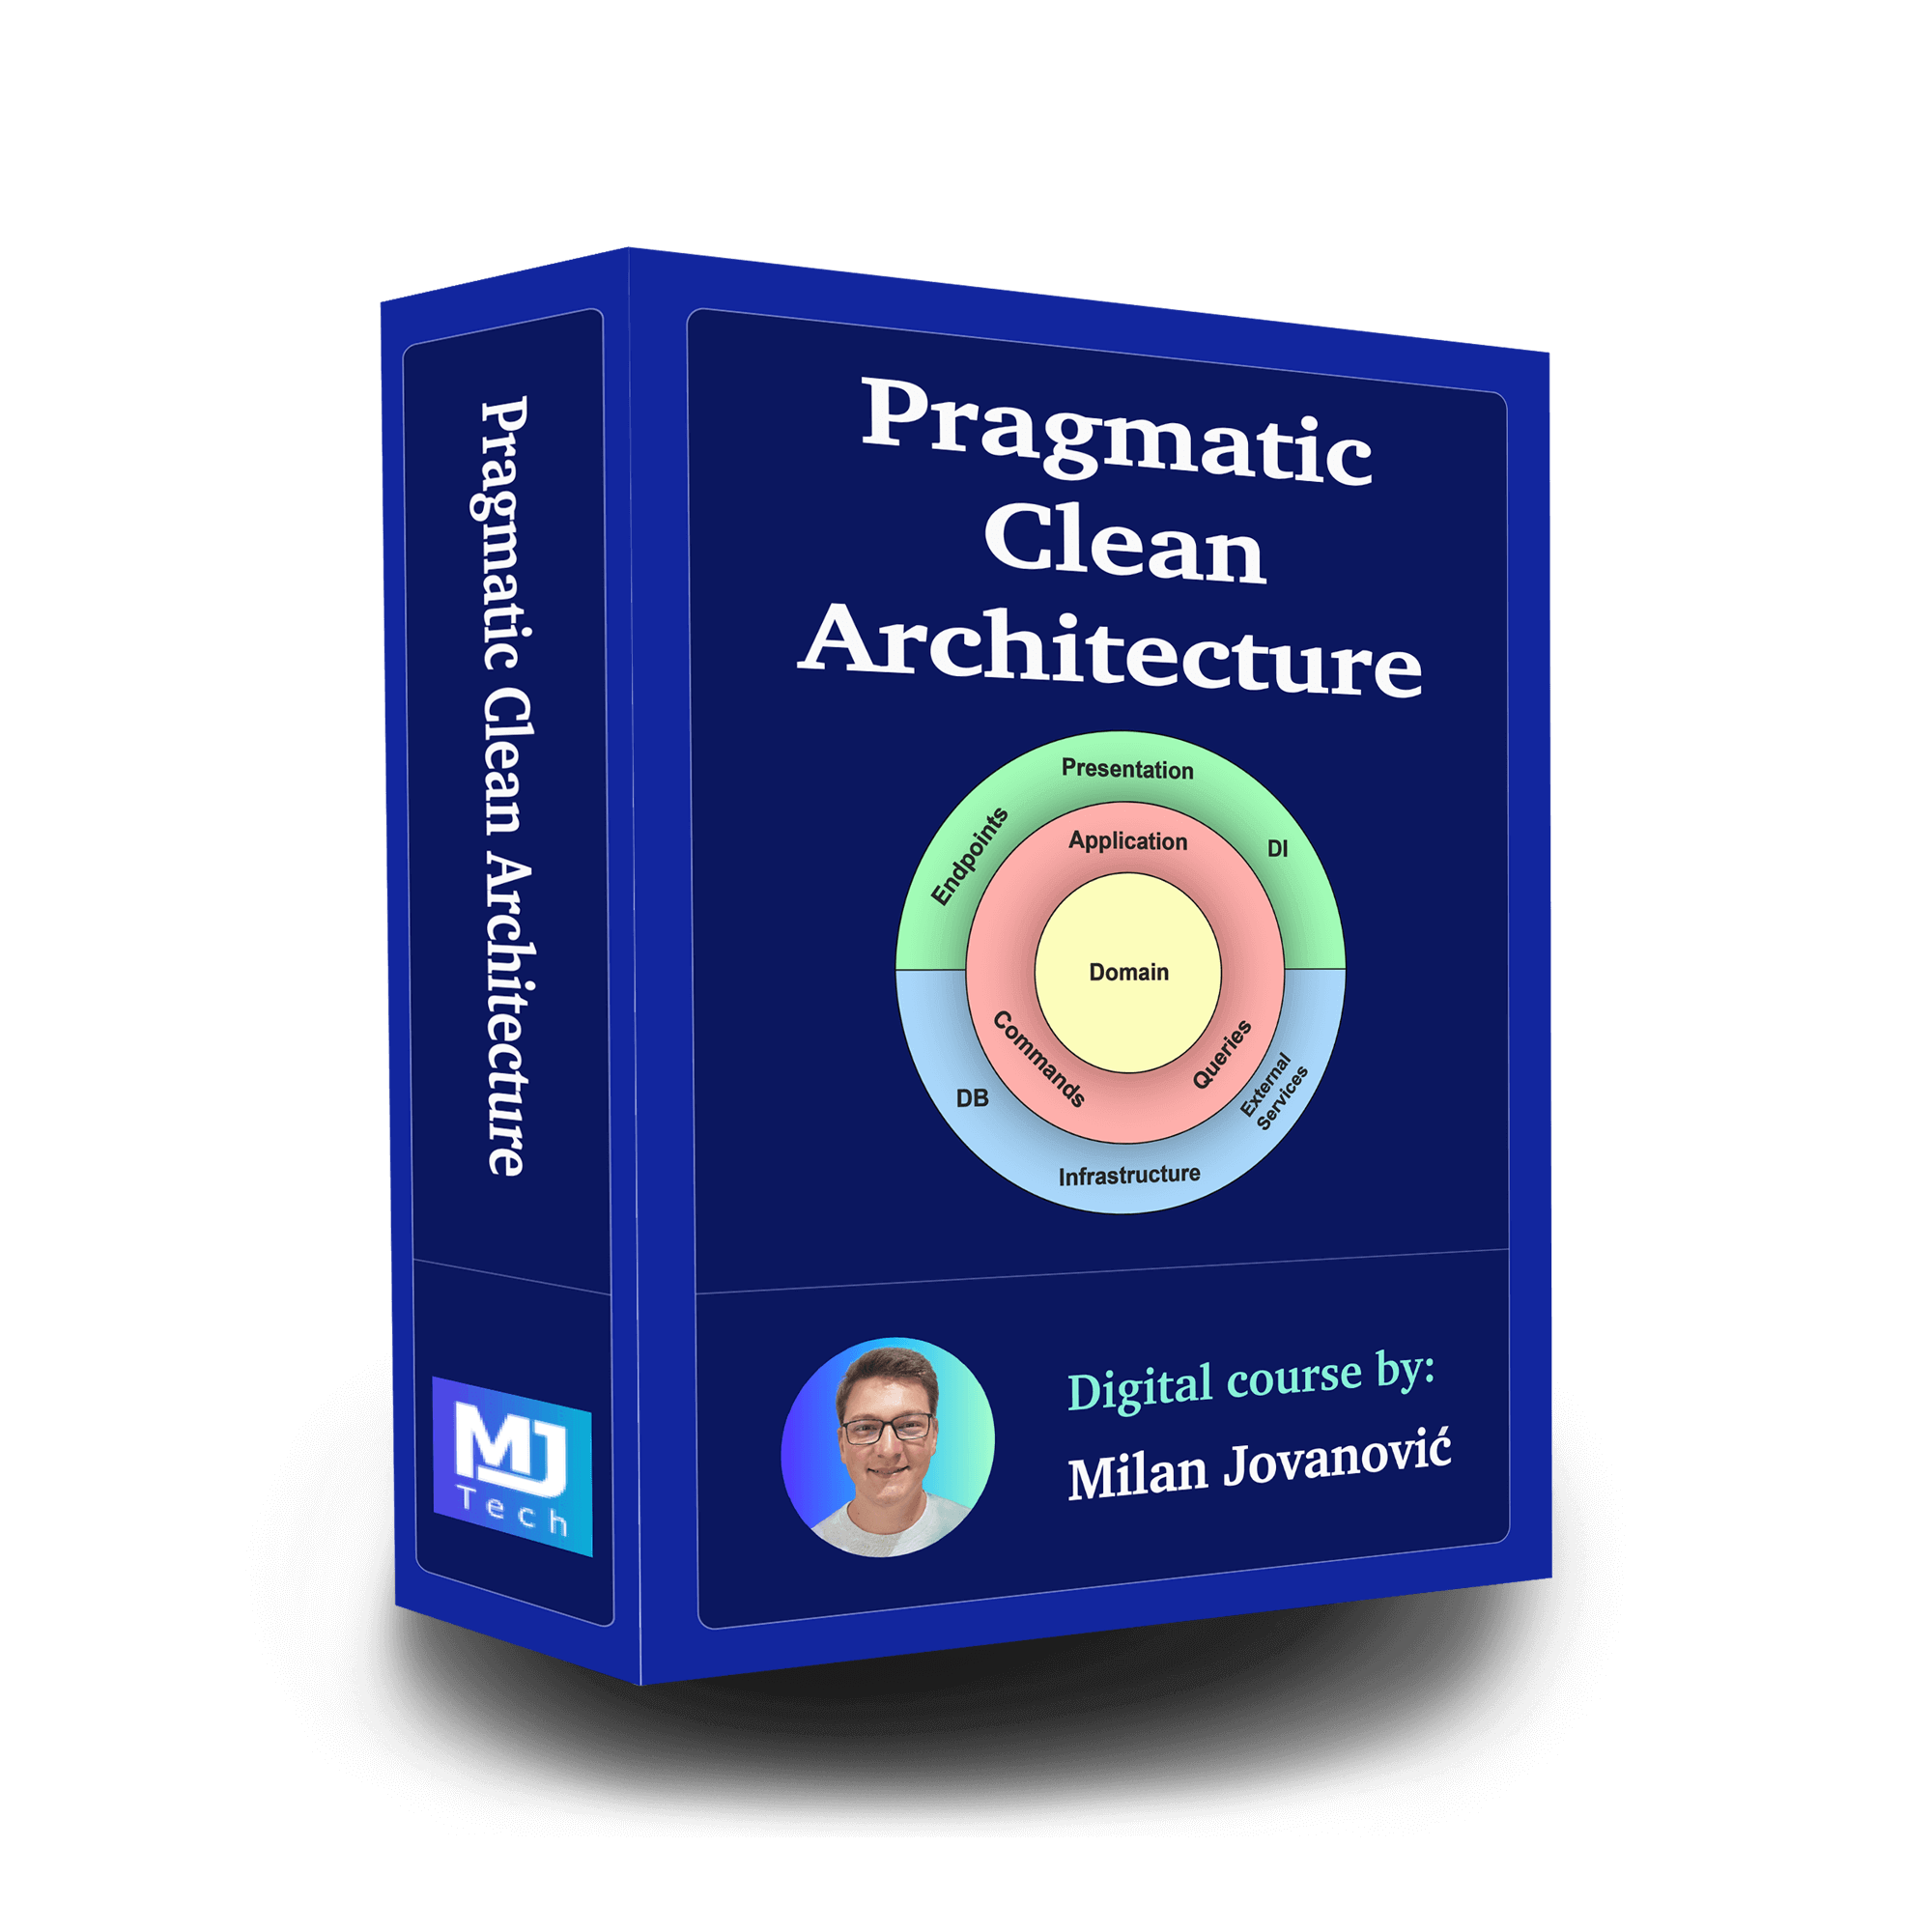
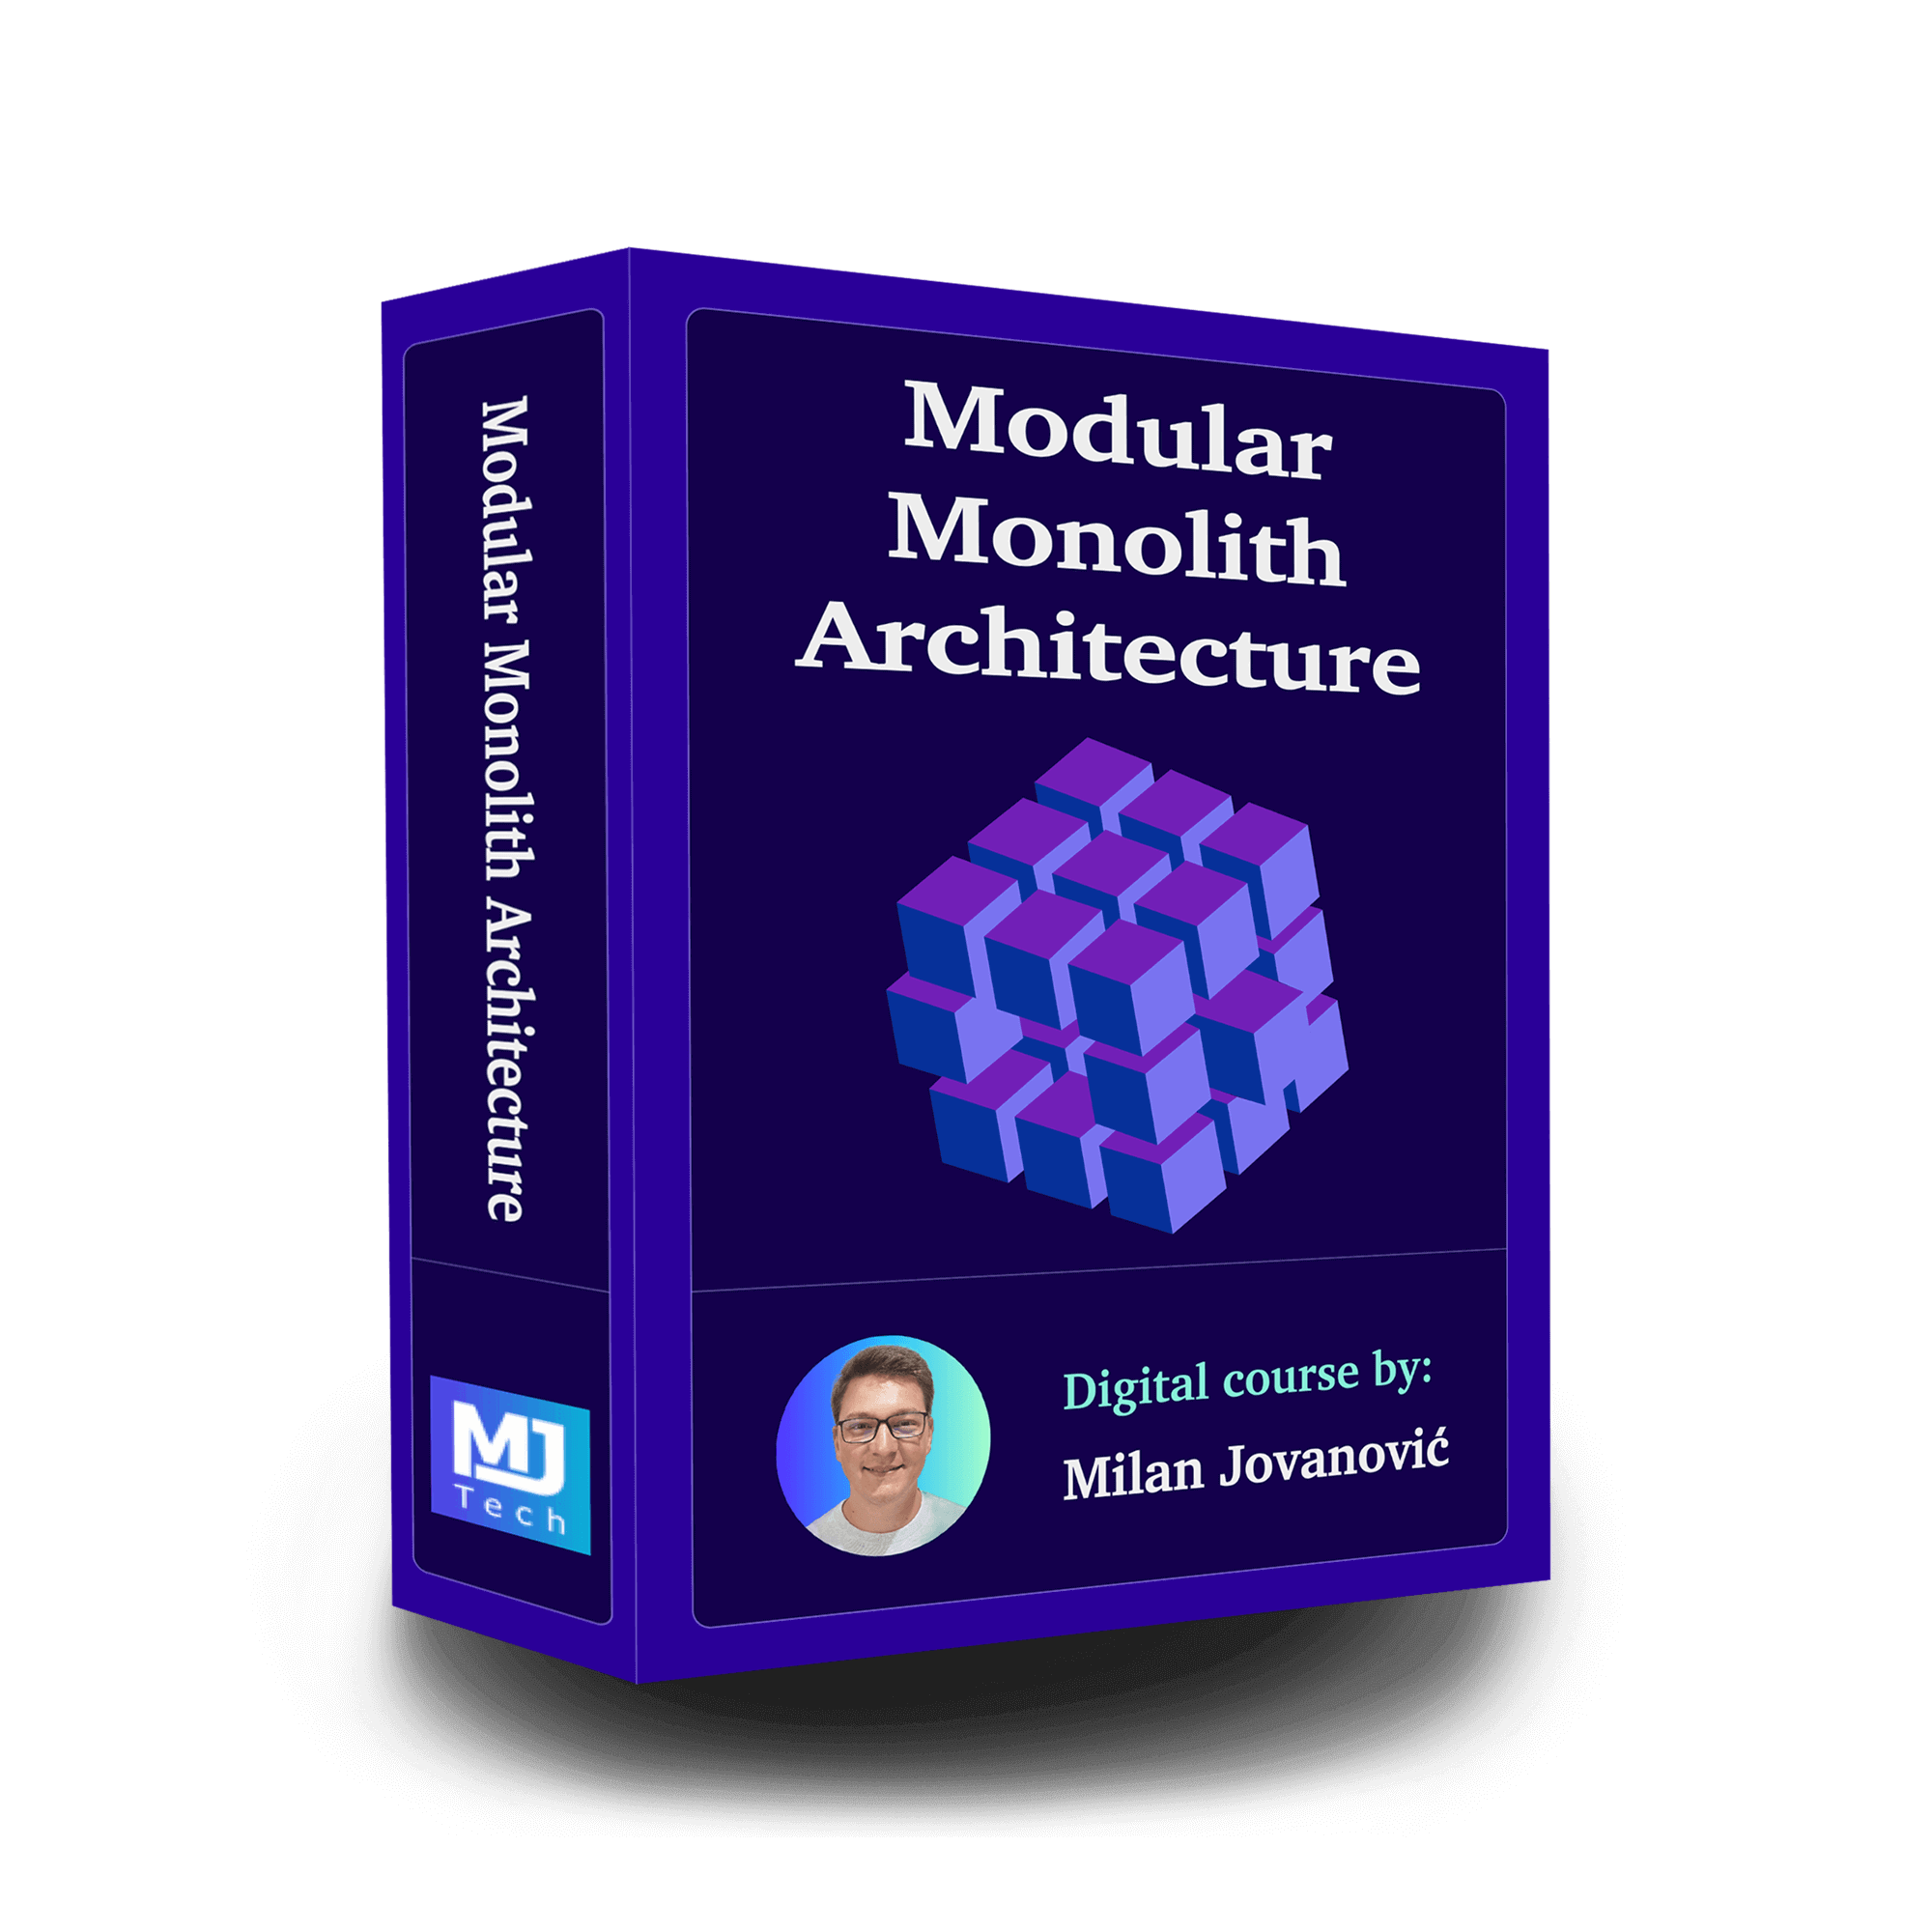
If you want to explore event-driven architecture further, including patterns like the ones we touched on (and beyond), check out my Modular Monolith Architecture course. It covers these concepts in depth with practical examples, so you can apply EDA in real-world projects.
Good luck out there, and see you next week.